A Rookie’s Guide to Fly Tying
A comprehensive fly tying guide for beginners with different kinds of materials and instructions included. Start your first fly tying experience today.
What is Fly-Tying?
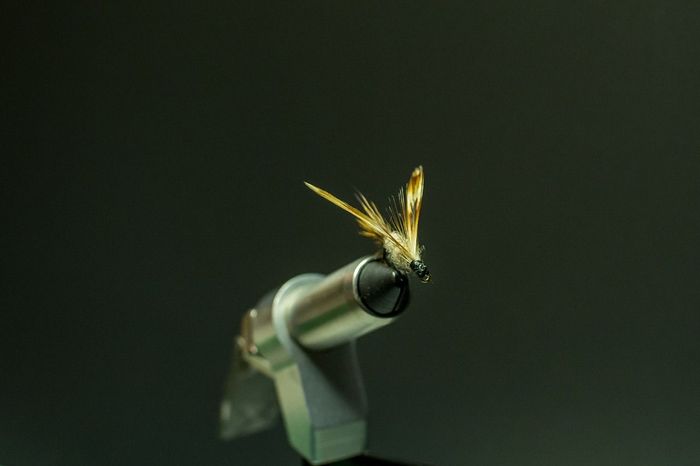
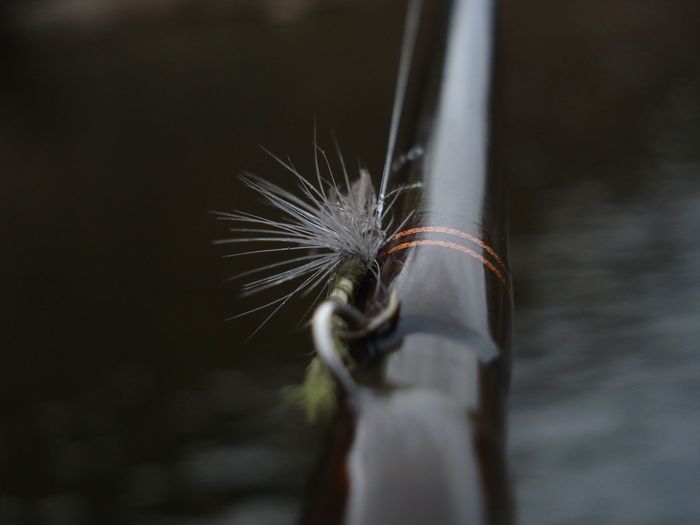
In a nutshell, fly-tying is the procedure of attaching materials to a hook to mimic a fly. This artificial fly is used as a lure meant to look like the prey of a target species, and usually consists of feathers, hairs, or synthetic materials. Fastening and arranging the different materials in a pattern is what makes a fly effective in coaxing fish to bite.
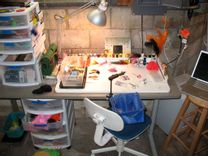
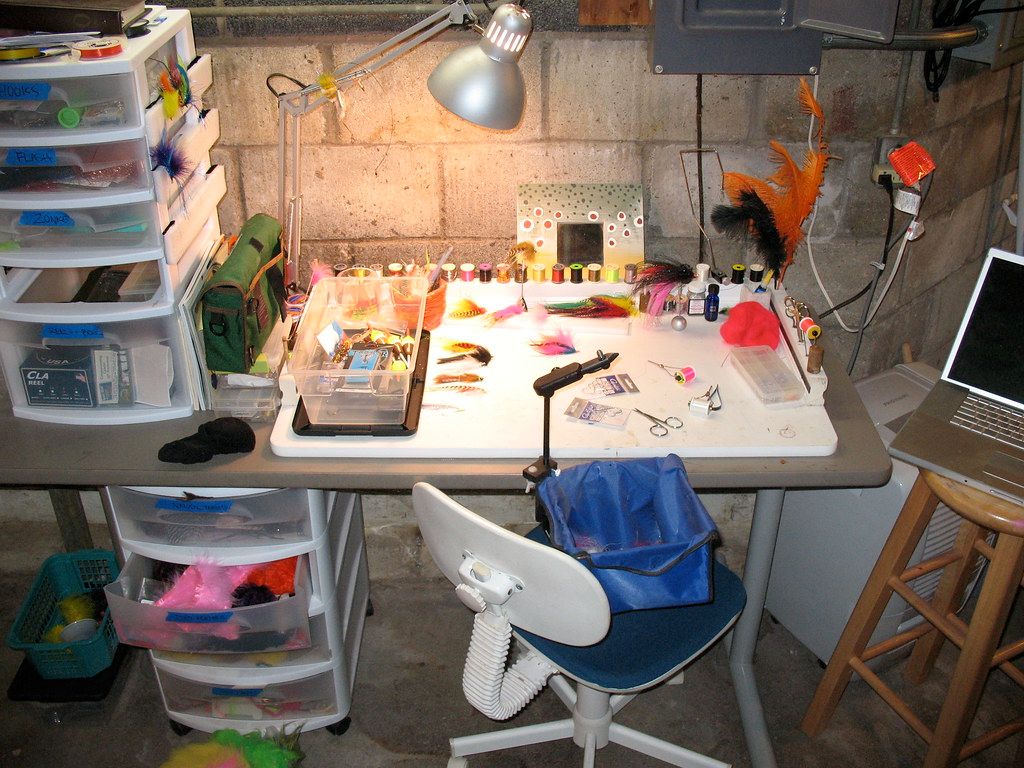
Flies are usually purchased off the shelf, but some anglers prefer customizing their flies - hence fly-tying. For some, it is more than just an off-season activity. Others see fly-tying as an integral part of their angling lifestyle. As a hobby, it can be an expensive one. Flytiers have a vast collection and usually have a dedicated art and craft station at home. With various materials and colors available for fly tying, the different patterns are virtually limitless.
Anglers get drawn to it because it is a creative outlet that allows them to produce ties specific to their liking and needs. There are different steps in assembling flies, and these will differ for each flytier. If you're a fly tying rookie, below is a definitive guide that will hook you on fly tying.

Getting Started
If you’re just stepping into the waters of the fly-tying world, it can seem complicated with all the different tools and materials. Here are the basic tools and materials you need, and where to start with your fly-tying adventure.
Fly-Tying Equipment
Get a Vise
The most essential tool in your arsenal will be the vise. This is what keeps the hook in place so that you can fasten the different materials onto it. There are two main types of vises, a pedestal, and a c-clamp.
The pedestal or standalone vise is versatile because you can set it up anywhere. The c-clamp on the other hand needs to attach to a base, such as the edge of a table, but is more stable and will rest at a more natural height.
Another variation to consider is fixed jaw or rotary. As the name implies, a fixed jaw will remain stationary in one position. A rotary vise is more expensive but since it can rotate, it helps when adding materials at different angles so you can turn the vise instead of taking out the hook and repositioning it.
Tools of the Trade
1.Bobbin
A bobbin is essentially a tool that holds the thread in place so that you can focus on tying the material. The thread spool sits inside two rods with “wheels” that allow it to spin and release thread as you tie. The thread will pass through a tube that allows you to control the thread with precision.
2. Hackle Pliers
Hackles are the feathers (typically from the back of a bird) used in a fly that are difficult to handle with your bare fingers. These pliers are specifically designed to hold feathers and attach them around the hook without twisting or deforming their shape.
3. Bodkin
The bodkin, simply put, is a needle with a handle. It’s used to apply the final adhesive on the fly but can also help disentangle thread or guide it with pinpoint accuracy.
4. Whip Finish or Half Hitch
Putting the final touches on your fly involves ensuring that all the materials you attached stay put. Tying the proper knot is one of the most important things in fly-tying. Two tools can help you achieve this.
The first is the half hitch tool, which is a metal tube with an opening. One can usually be found on the handle of the bodkin but can be purchased as a separate tool.
A whip finish, on the other hand, is like a hybrid of a safety pin, bodkin, and a crochet needle. It helps you tie knots of the same name (whip finish
knots) that will stay firmly in place to secure your materials.
5. Adhesive
You need an adhesive to hold your knot in place, which is usually head cement or super glue. Head cement is expensive but often preferred because it’s simpler to apply and not easily absorbed by materials such as feathers or fibers. There are three types of head cement that differ in their finish and durability: solvent, UV cure, and epoxy. Superglue, on the other hand, is cheap and readily available but can drip and stiffen the attached materials if you’re not careful.
6. Hooks
For beginners, size 12 or 14 nymph hooks are a great start.
7. Threads
There are various colors and sizes, but choosing black and brown is a good start. Size 6/0 is a one-size-fits-all range and can be used in almost anything. Purchasing a waxed thread is also recommended.
8. Wire
A wire is used mainly for the design to give the fly the resemblance of a ribbed abdomen. It acts like a sinker, adds durability, and adds an element of reflectiveness to the fly. A thin copper wire is a good start.
9. Beads
Beads are meant to imitate the head of a nymph and add weight. They are usually gold in color, brass, or tungsten, and a size 3/32 is a good start.
10. Dubbing
Dubbing is essentially finely cut fibers that are the main material in flies and usually compose the body of the nymph. It has a wide range of textures and colors and is used to add a fuzzy or buggy look to your fly.
11. Pheasant Tail
Pheasant tails are a favorite of flytiers because they move well in the water and look natural. It’s usually the material that will compose the tails, bodies, and wing cases of a fly. The Pheasant Tail Nymph is a popular fly for flytiers to begin with because they are the easiest to recreate.
12. Others
Last, but not least, you will need a good set of tweezers and scissors. You should pick those that allow for fine, precise cutting or handling.
That’s Your Fly
The Pheasant Tail Nymph moves well in the water and is regarded as the best imitation of a mayfly nymph, which is a popular food source for fish in rivers and streams. Experienced flytiers still suggest this fly as the baseline. Recipes and procedures can vary, but what they all have in common is that they can be put together in about 5-10 minutes, even for a beginner. It requires very minimal materials that are easily accessible.
After you have mastered the Pheasant Tail Nymph, you can move on to imitating the build of your favorite and most effective store-bought flies. Emulating these can help to further enhance your technique.
Once you have grown adept at constructing basic flies, you can move on to customizing your own with a specific target species in mind. One great benefit of fly-tying is that it helps you gain a deeper understanding of the fish you’re targeting as well as the environment they are living in.
Living the Fly Life
Just like with any activity, your skill can only be honed through constant practice. It may be difficult at the start, but you have to start somewhere. With a little patience and hard work, you will find your way breezing through making your own custom flies. Catching fish on a fly that you have painstakingly created gives a sense of fulfillment that no store-bought tie can offer.