Simple Steps in Making DIY Fishing Rod Holder
Make a DIY customizable and affordable fishing rod holder at home. Learn the simple steps and have lots of fun!

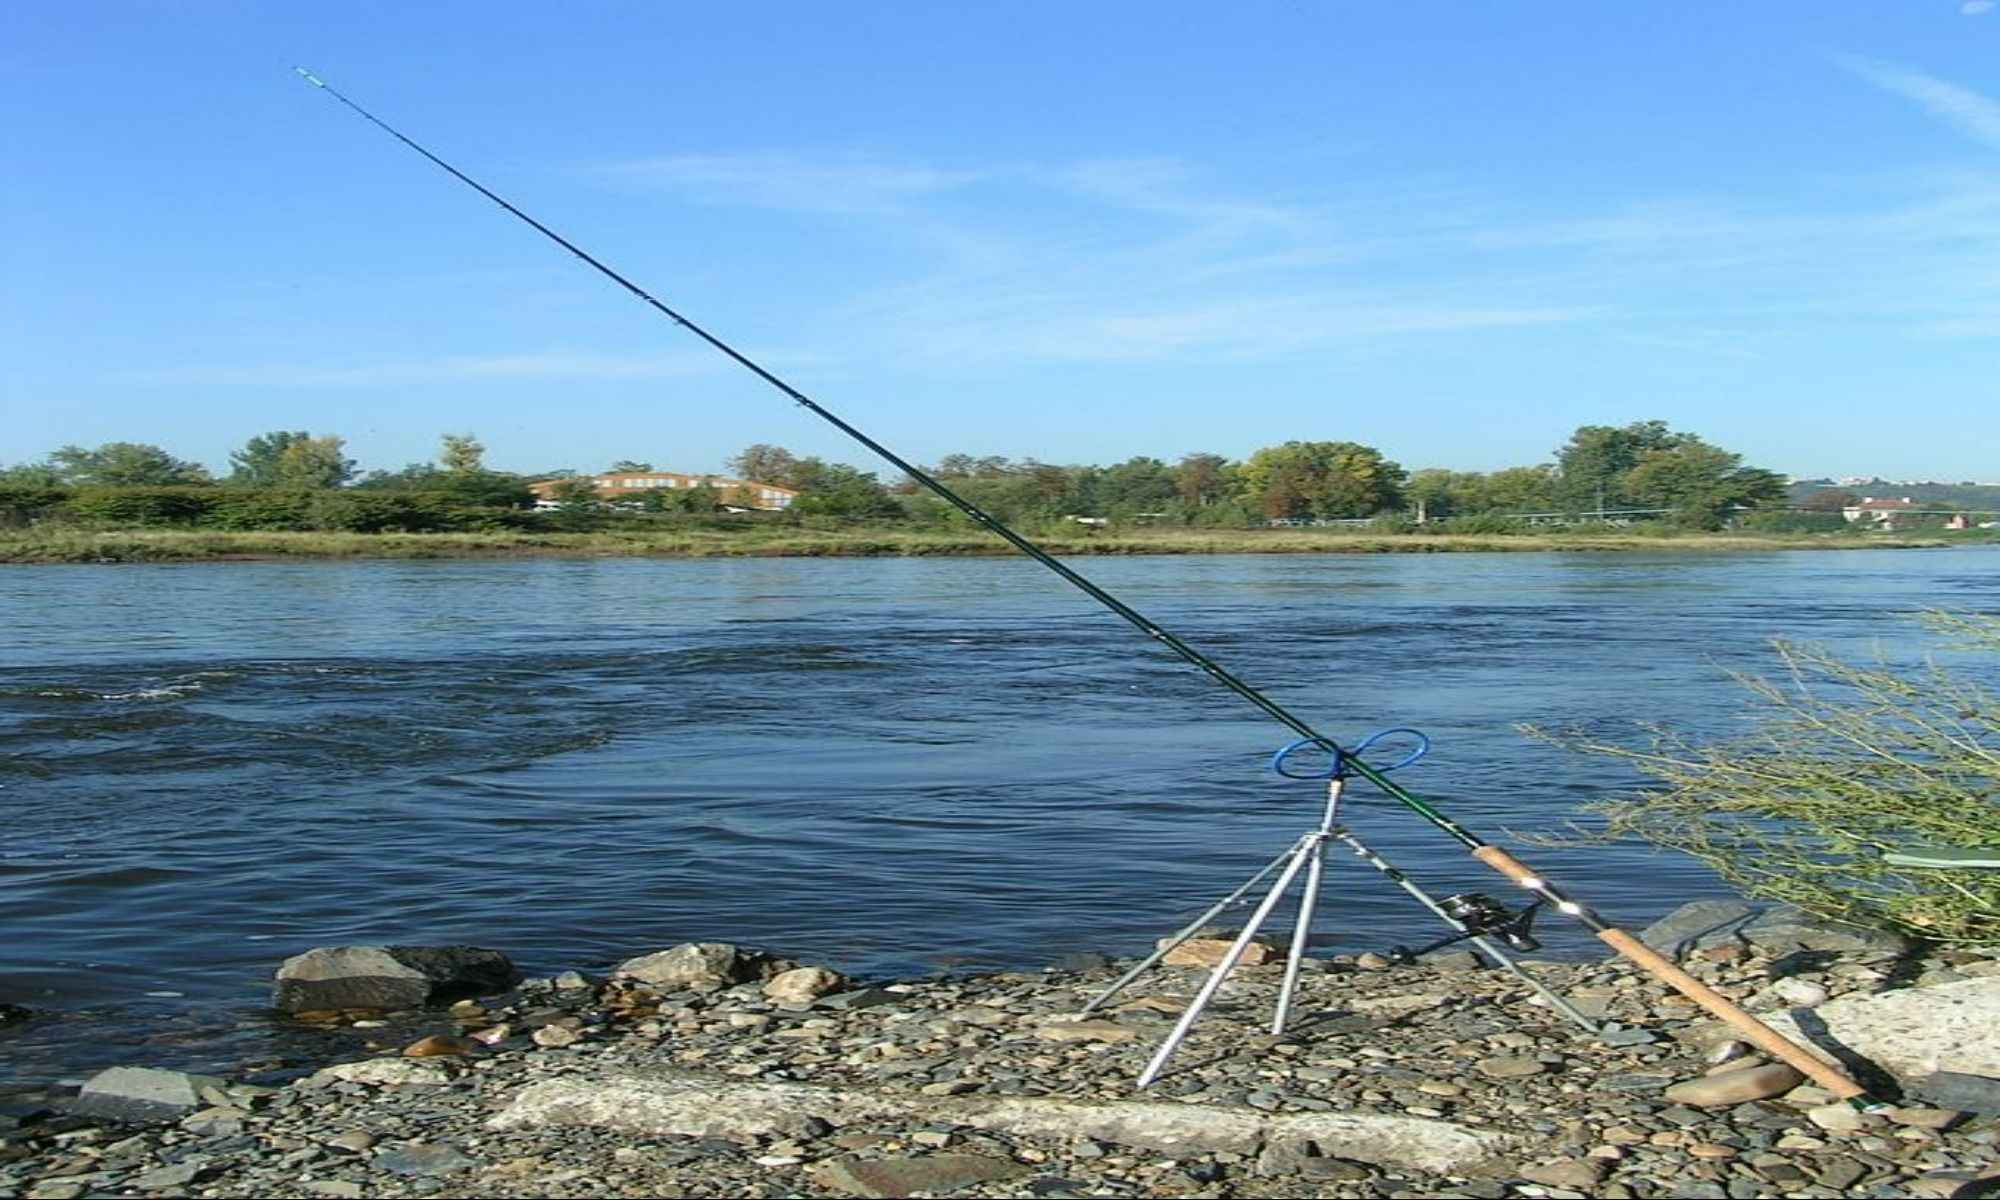
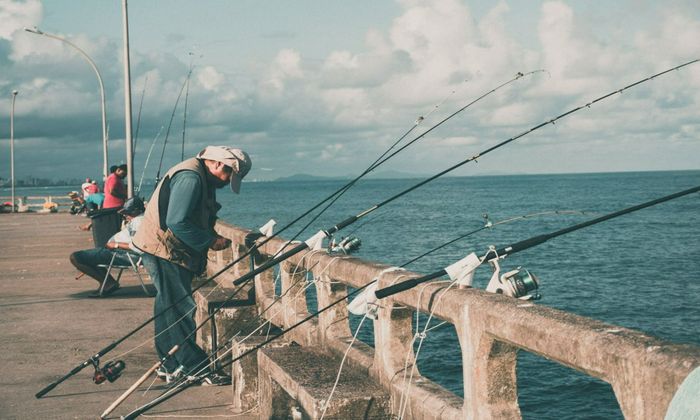
Fishing rod holders are important when angling in the banks or shorelines. They are helpful for a whole day of fishing to save yourself from holding your rod all day long. These holders are also efficient for multiple rod set-ups. For example, when fishing in the banks and trying out different rigs, baits, or lures, anglers sometimes prefer setting them up all at the same time. For fishing trips that include other friends or families where you need to relax and mingle once in a while, rod holders let you sit back a little and ease up on the hands-on action.
Many fishing rod holders are readily available in the market. Some anglers prefer to make their own do-it-yourself, also known as DIY fishing rod holders. This idea may sound time-consuming for others, but making your own instead of buying has its own advantages, and here is why.
Advantages of Making Your Own Fishing Rod Holder

It is convenient to buy a fishing rod, but there are substantial benefits if you build your own. Here are some of them:

1. Affordable
Fishing rod holders can be quite costly when you buy an already made one in the market. Making it yourself can prove to be more cost-effective by picking out materials that suit your fishing style and needs. If ready-made ones are too much for you and you find them too expensive for the kinds of materials used, get your preferred items and tailor your own rod holder to your budget.
2. Customizable
Making your own fishing rod holder will be exciting for those who like aesthetics and the sense of ownership through uniqueness. Going DIY lets you customize your own rod holder and design it however you like. This gives anglers the chance to bring out their creative juices and experiment with their gear’s looks. This may also be an opportunity to pattern the rod holder’s looks to the fishing area you often go to make it look more natural. Doing this also allows you to get materials that go with your rods’ sizes and customize the holders for a perfect fit.
3. Doable
Most people think that building a fishing rod holder is complicated, so they get discouraged. However, making one is relatively easy, and anyone can do it. Power tools are not even necessary when making it. Although, that depends on what you want to include in your rod holder because some even attach cutting boards. You do not need to have a background in carpentry or building to make your own fishing rod holder.
4. Enjoyable
If you have not done anything like this before, you might actually find it more fun than it seems. Some people even consider DIY projects as therapeutic. Especially when you do it the first time, there is a thrilling excitement when you get to do something out of the ordinary. Give it a try, and see for yourself!
Making Your Own Fishing Rod Holder
Even though it is easy, things are still to consider when planning your DIY fishing rod holder project. Put in mind that, like in all things, precaution is necessary when doing DIY projects. These are the simple steps you can follow to guide you through:
1. Size it Up
The first step in making your own fishing rod holder is getting all the necessary measurements. Size up your rods to know how big or small your holder should be. The essential parts you need to measure are the length and diameter.

2. Get Your Materials
For a simple DIY fishing rod holder, these are the basic materials that you will need one of each of these:
- 2 feet schedule 40 1 ½ PVC pipe
- 2 feet schedule 40 ¾ PVC Pipe
- 3 hose clamps
- 2 feet number 6 or number 7 rebar (An alternative can be a concrete steel stake)
- Paint and decorations of your choice
Take note that the sizes depend on the measurements of your own gear. You may add other different materials depending on your style and needs.
Optional additional materials:
- Flashlight
- Cable ties
Some attach flashlights to their rod holders using cable ties to make them more equipped for nighttime fishing.
3. Attach Them Together
Here are the easy steps in assembling your DIY fishing rod holder:
- First, join the two pipes side by side. Get the ¾ PVC pipe and attach it to the 1 ½ PVC pipe, leaving about 8 inches from the top of the 1 ½ PVC pipe.
- Get the three hose clamps, and attach the two pipes on the top, in the middle, and on the bottom. Ensure that you adjust the clamps and fasten them as tight as possible to keep it sturdy.
- If you wish to attach a flashlight to your fishing rod holder, you may do so by tying up a flashlight to the 8 inches top end of the 1 ½ PVC pipe that you previously left out. When attaching the flashlight, use cable ties and fasten it tightly to make it sturdy.
- The rebar will be used when making the fishing rod holder stand on the river or lake banks.
4. Design Your Holder
This is the time for you to get creative. Spread some newspapers in your working area and grab the spray paint of your choice. Fill your fishing rod holder with colors by spraying it, may it be a solid color, gradient, or a mix of different colors! Some paint their rod holders in camouflage for more practical uses to look more natural. Another idea is to put your initials for a more personalized feel. Use other decorative materials and make it more unique! Enjoy using your rod!
5. Use Your Very Own Rod Holder
Using your hands, drill the rebar firmly on the ground. Choose a soft but tight soil to drive it in. You may use a hammer to drill it for more complex, harder soil. Make sure it is pierced deep enough. Take the fishing rod holder and insert the ¾ PVC pipe into the rebar sticking out of the ground. Adjust it to make sure it is sturdy. And now, you can use your fishing rod holder.
Bonus Ideas for Home Fishing Rod Holders
• Wall Mounted
You might want to plan your fishing rod holder in a way where you can display it on the wall of your house to readily show your friends and guests what gear you got.
• Overhead Rack
For a more practical idea, you might want to consider drilling your DIY fishing rod holder to the ceiling of your house.
• Collapsible Stand
An excellent space-saving idea is a collapsible fishing rod holder, one that you can disassemble and put away anytime you do not need it. This way, it can also be portable if you wish to bring it on specific fishing trips!


