Guide to Setting Up a Slip Bobber
A slip bobber is an excellent fishing technique for any fish species. Here's a quick guide in setting up a slip bobber.
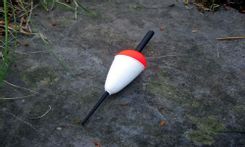
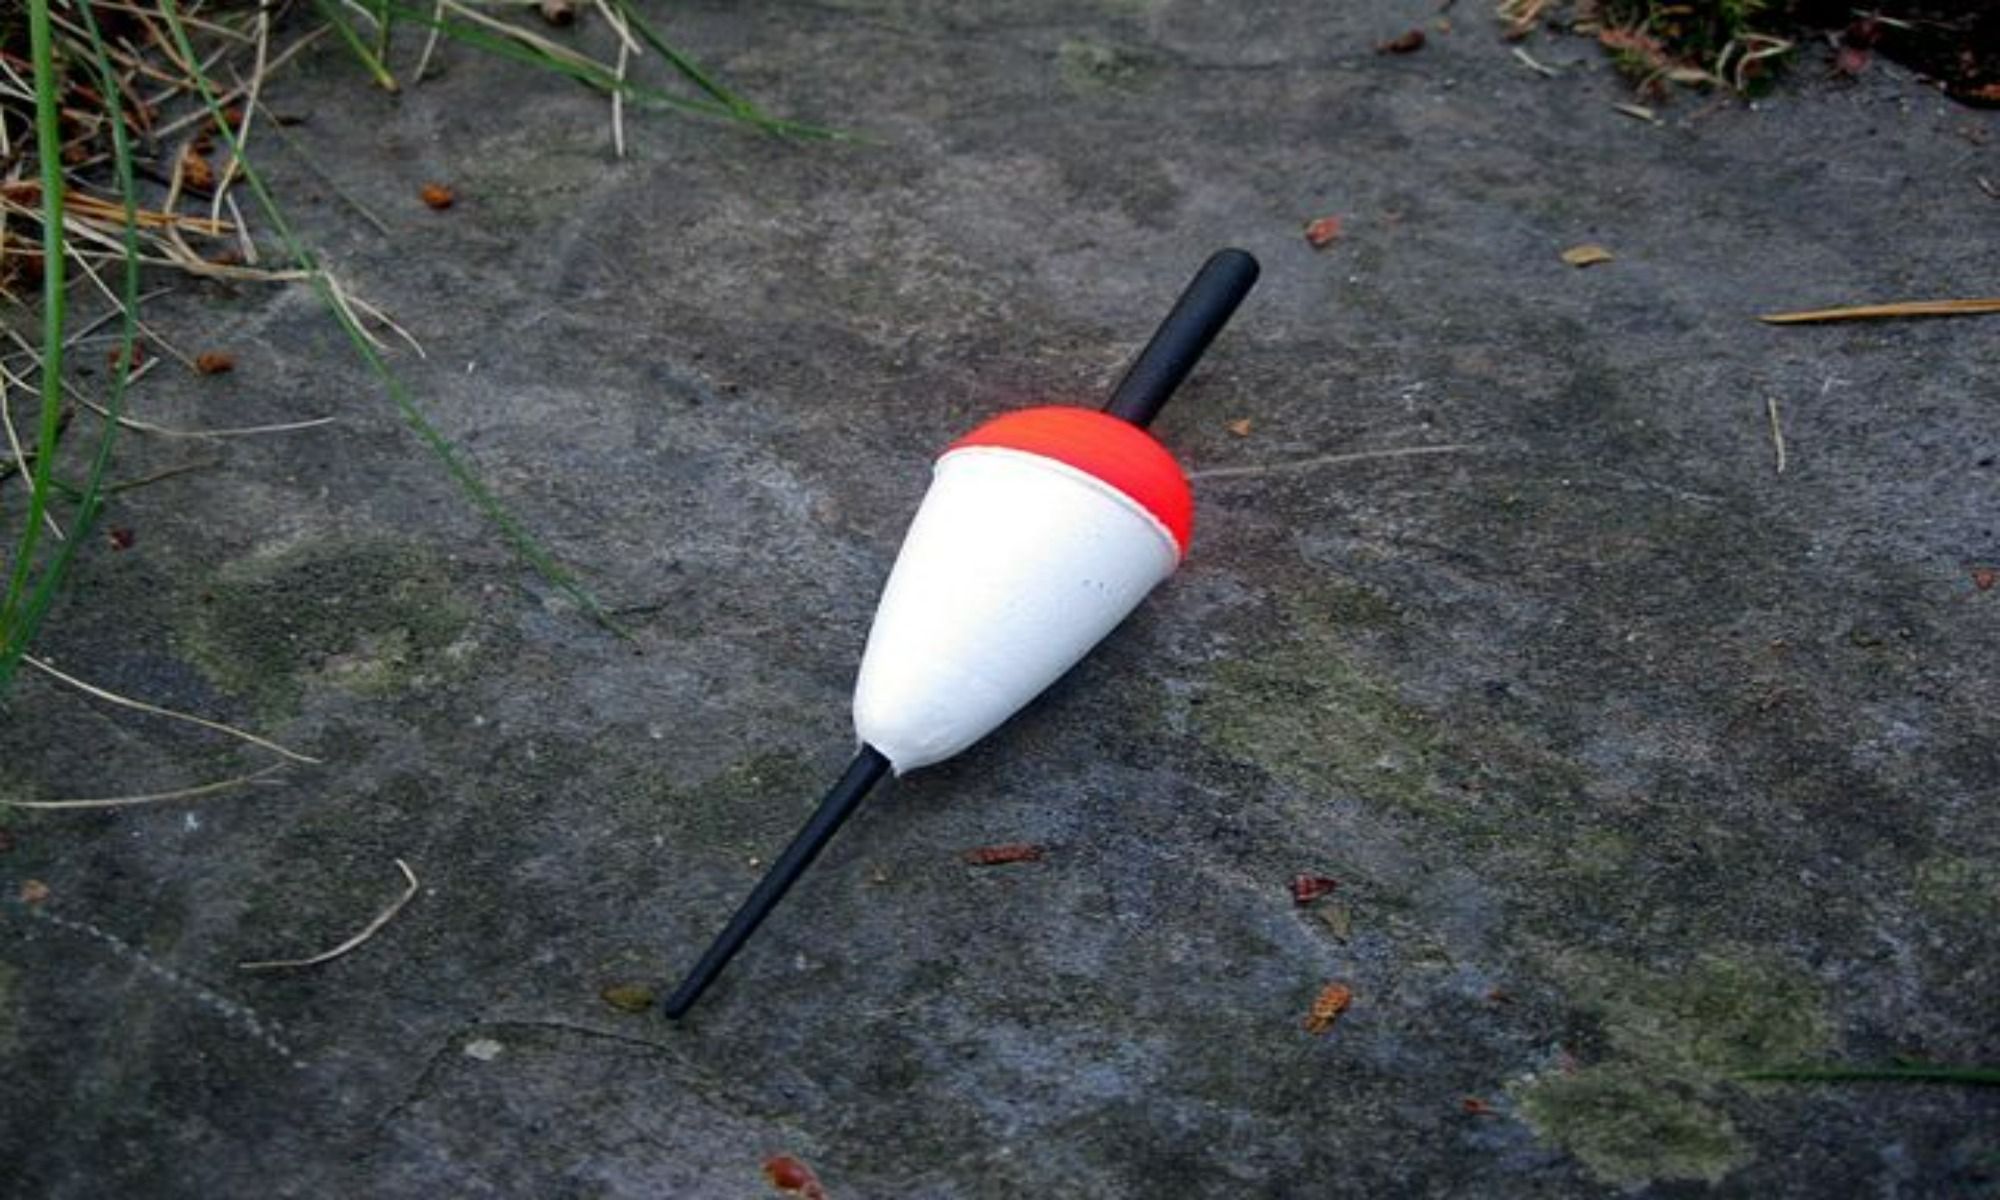
A slip-bobber is a float that glides or slips up and down an angler’s line. It will slip down the line to the lure and up the line until it hits a stop. Most slip bobbers have small holes at the top and bottom for threading the line through; the method lets the float slide up and down the line without readjusting. Slip bobbers are adaptable floats that are always preferable to fixed bobbers. It serves as a visual strike indicator when a fish bites the lure.
A slip bobber is an excellent fishing technique for any fish species. They are a better alternative to traditional spring floats. It can be a beneficial way to catch fish at a suitable time and place. The advantage of using slip bobbers is that they will always remain close to the end of the fishing line, near the hook, no matter how deep anglers might be fishing. They are also suitable when fishing in shallow water areas.
When using a slip bobber, anglers can use fish baits like maggots, worms, bread, leeches, and live or dead baitfish. Anglers commonly use lighter jigs and smaller crankbaits beneath their slip bobber. Soft baits even work great on a slip bobber. Anglers can also use lighter lures to float the bobber, resulting in a better natural bait presentation and action.

Guide to Setting Up a Slip Bobber

Before setting up a slip bobber, ensure that the rod and reel are assembled and strung with a lightweight line. Anglers typically use a six-pound fluorocarbon fishing line for their slip bobber, but a two-pounder or a four-pounder fishing line will also work. Before learning to set up a slip bobber, it is vital to understand different types of slip bobbers. Slip bobbers vary in size and shape. Some slip bobbers are ball-shaped or oval and look more like a classic stick float. Meanwhile, the size largely relies on the type of fish anglers target and the bait they prefer to use, the bobber.
1. Securing Up the Bobber Stop String
Anglers will need red beads, a string, and black tubes for the first step in setting up a slip bobber. Begin with sliding the fishing line through the black tube, with the rope still tied around the body of the tube. Pinch the thick string area covered around the pipe and slide it upwards. If correctly done, it should slide off the tube and retain the fishing line above the pipe. Next, pull each end of the extra string until the knot constricts around the line.
Once the knot is tight, carefully cut off the remaining loose rope, but avoid clipping the knot itself. It is also good to pick up some extra assortment of bobber stops and beads.
2. Adding the Plastic Bead
The bobber stop, the string attached in the first step, allows anglers to adjust depth easily. Merely slide the bobber stop up and down the line to determine the fishing depth. The string is not enough to keep the slip bobber from sliding up the line and hitting the top eyelet of the fishing rod. It is essential for ultralight and microlight rods because anglers do not want their terminal tackle striking into the line on every catch.
Slide the line through the two slots in the top and bottom of the bead. The bead will slide up and down the line as required.
3. Putting in the Slip Bobber
Once the string and bead are secured, the following step is to slide the line through the top and bottom of the slip float. It is essential to slide the bobber stop and bead further up the line. Once the line is through, provide a couple of extra feet through because the hook and slip shot will still be added. Always remember that the distance between the bobber and the bead is vital for the tackle to move.
4. Attach the Split Shot
If the bobber is finally secured, it is time to add a split shot to the line. Anglers can choose the sinker based on their preferences. But, a removable sinker will be helpful in the possibility of obstruction or re-rigging. It is also vital to make sure some weight toward the bottom of the line is available to avoid the tackle from getting tangled. The split shot should be at least six inches above where the hook will be placed. A distance of between eight and ten inches is idea enough. Placing the tackle closer to the hook leads to a greater chance of a tangled line. In other cases, anglers will apply the split after tying the hook, which is not a bad idea.
5. Tying the Fishing Hook
Anglers generally use an Aberdeen hook for their slip bobber. They can also adjust the hook's size according to their preference, but a hook with a size 2, 4, or 6 will do the job. The size of the hook depends on how big the fish you want to catch.
Now that you have set up a slip bobber, it is better to know some tips that will help anglers maximize their game using a slip bobber. Anglers need to learn to check the water's depth to put the bait in the appropriate strike range of the target fish. Using the slip bobber right will make it more manageable for anglers to adjust the string to the desired depth. Remember to check the cast from time to time. The bobber stop string is prone to movement, particularly after a nibble. Re-rigging the line is okay. There are possibilities the line will get tangled, and it will only take a couple of minutes to re-rig.
Getting a fishing license is a must for an angler to fish lawfully in the United States. It is also required for anglers to observe the fishing restrictions imposed regardless of their fishing location.