Tips for Tying a Complex Twist Bugger
A guide on how to tie your own complex twist bugger to add to your collection of fly fishing flies.

Every fly angler knows that trying and branching out to explore using new fly patterns is a must when you’re fly fishing. But when it comes to a dependable fly, the Complex Twist Bugger stands the test of time in a fly angler’s fly tying repertoire. This streamer fishing fly or pattern can produce what other flies cannot. It’s a great fly that can land you a big fish.
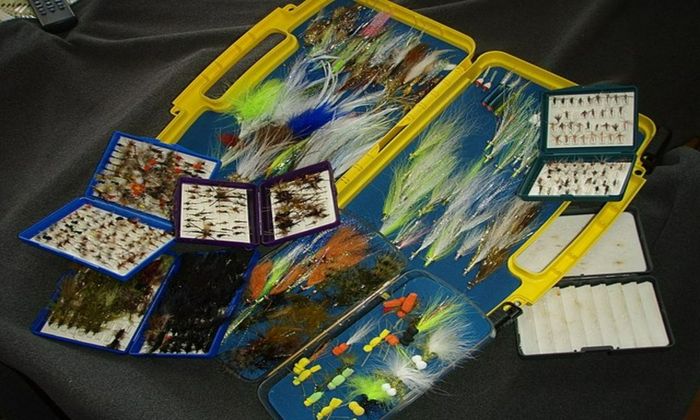
What makes the Complex Twist Bugger so unique is that its effectiveness doesn’t come at a huge cost. You can easily make this fly with easy-to-find fly tying tools and materials. If you haven’t tried using a Complex Twist Bugger when you’re fly fishing, follow this fly tying tutorial, and you might have your next favorite streamer stored in your fly box ready for your next angling adventure.
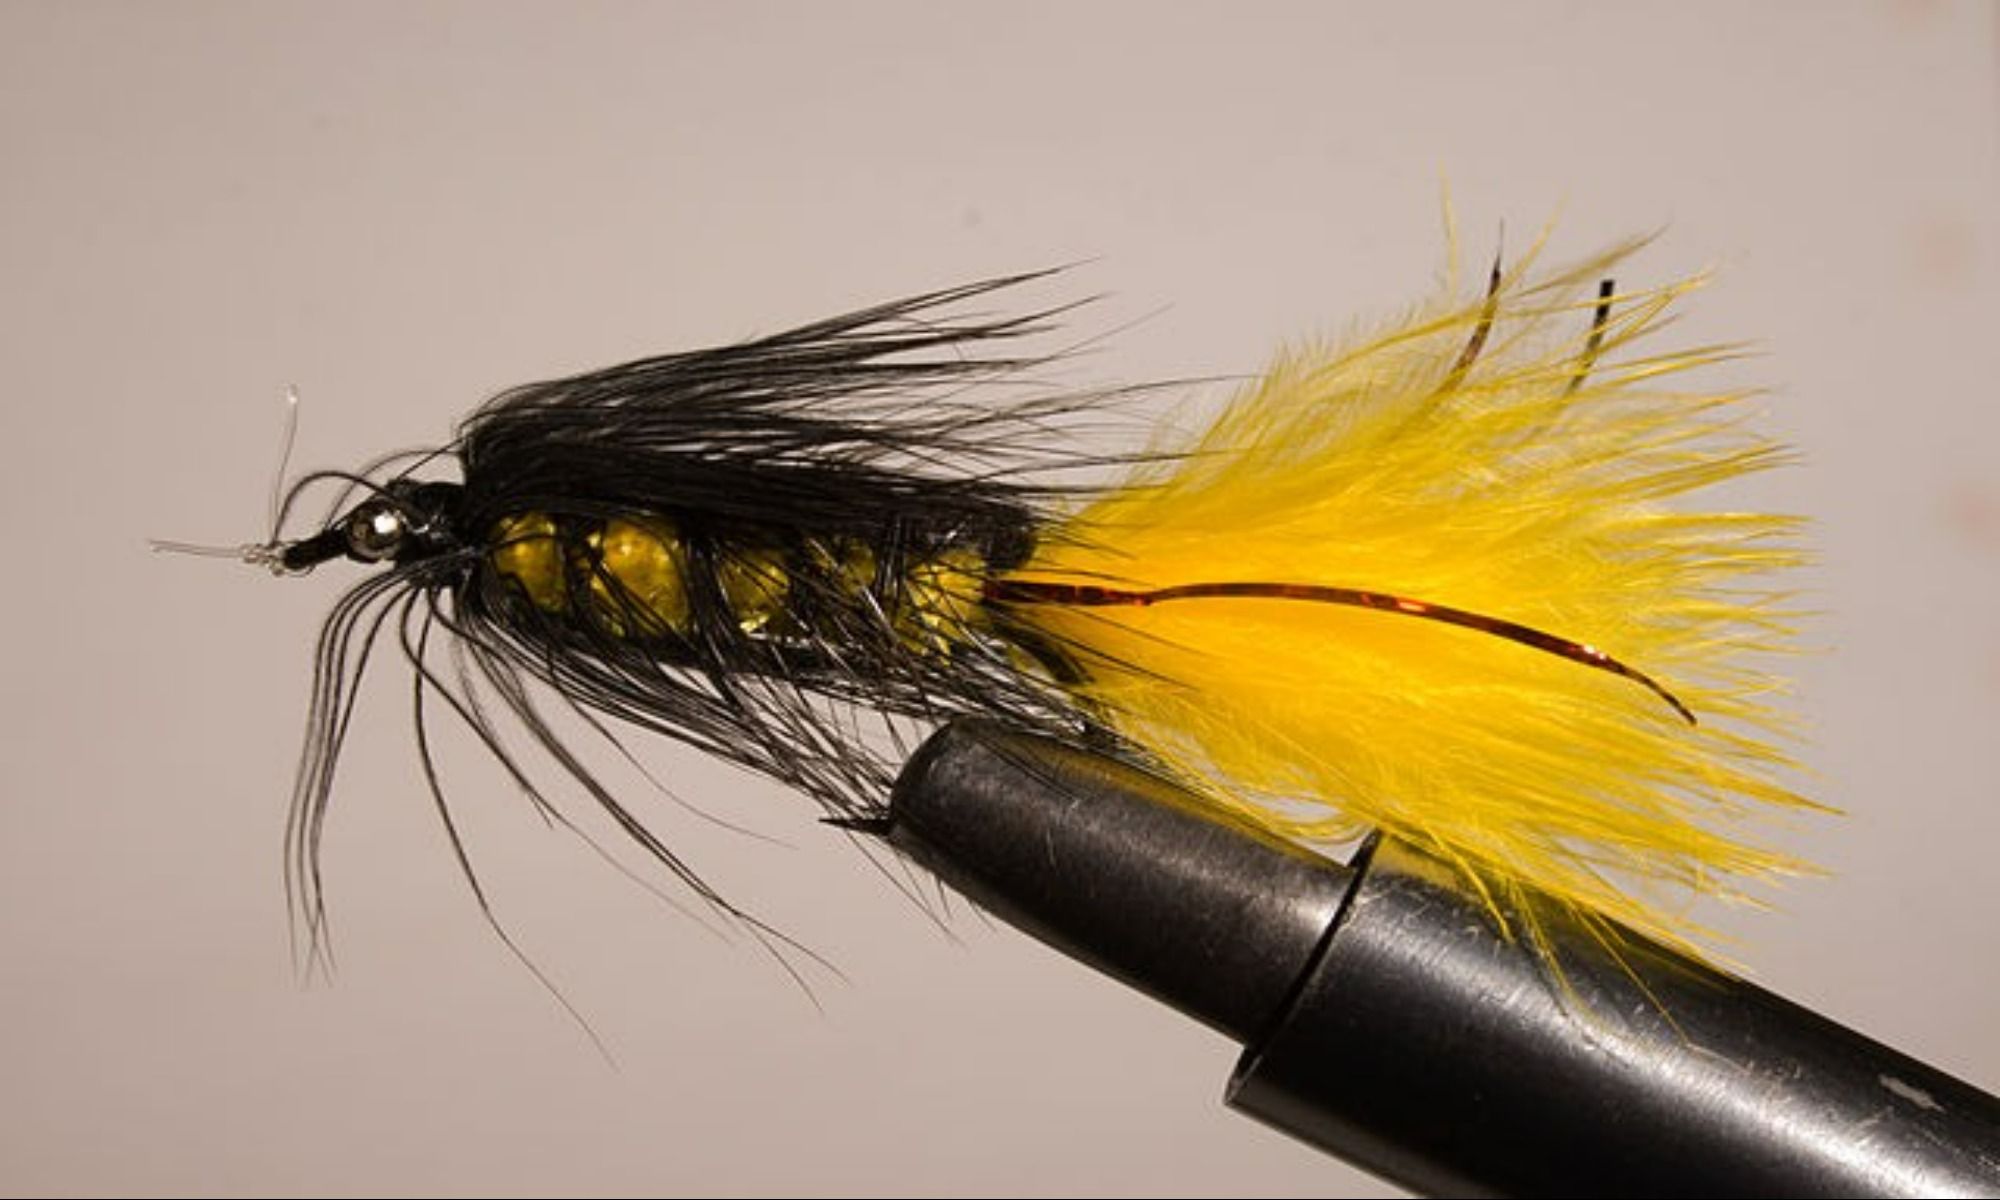
What is a Complex Twist Bugger
The Complex Twist Bugger (also known as the Complex Twist Streamer) was invented and made famous by Cheech from Fly Fish Food. It is an excellent streamer for fly fishing because of its diversity that combines old school and new school elements all wrapped into one fishing package. What makes it easy and fun to make and use is that you can change its colors, styles of feathers, flash material, and dubbings to create unique patterns.

When the streamer hits the water, it’ll look dirty and generate a lot of pulsing movements. This causes fish like big trout to go crazy for it. The profile of this fly mimics swimming or fleeing sculpin, which is a staple in most of a fly angler’s targets. You can use this fly by stripping it, swinging it, or drifting it.
What You Will Need
Here are some of the things you will need to make your Complex Twist Bugger:
1. Hook Shank
A size 2 hook would be the best choice. Models like the Daiichi 1710 or Daiichi 2461 are common options.
2. Thread
Choose a black flat waxed nylon thread. Specifically, you can find the Veevus 140 in black or Danville’s 210 Denier.
3. Conehead
The best material to choose for this part is if it’s made out of brass and copper in color. In terms of size, choose a large, which would be a fourth of an inch in length.
4. Lead wire or Weight
Use a lead-free round wire that is .025 in size.
5. Tail
Use a combination of brown and olive-colored strung marabou.
6. Body
Use a combination of UV polar chenille and schlappen feathers. Opt for an olive copper UV polar chenille, while the schlappen feathers should be brown or medium olive.
7. Collar or Veil
The most common picks among fly anglers for this part are either the Hairline Fusion Dub - Crusty Nail, the Bruiser Blend Junior Dubbing - Hidden Treasure, or Senyo’s Laser Dub. Whichever you choose, pick a dubbing that is black, olive, or sculpin olive.
8. Other Tools
A Loon Gator Grip Dubbing Spinner will provide the complex twist technique to the fly. Also, have a Sonfo Comb and Brush Fly Tying Tool, which will be used for teasing and dubbing the fly.
Tying the Fly
A step-by-step fly tying tutorial for CBT:
- Take the conehead, place it through the hook and slide it to where the hook eye is.
- Using your .025 lead wire, wrap it around the front hook about 20 times. Once you’ve done this, return to where you started wrapping the wire and wrap it over again about four times. This is to create a bump that will sit inside the conehead to keep it from wobbling around and sliding off the hook.
- Push the head underbody forward, ensuring the conehead is snug against the hook eye. Wrap and cover your thread around the lead wire, starting behind the wire to create a tapper.
- Choose four pieces of marabou that are different colors. This will become the tail which should be approximately the same length as the hook shank. Tie the marabou up to the lead wire and trim off the excess.
- Tie in the UV polar chenille and tease it in the same direction as the marabou tail.
- Tie in both of the schlappen feathers at the tip. Ensure that they’re opened so you won’t have too many trapped feathers when you spin them.
- Stack the UV polar chenille and schlappen feathers together. Brush out all the feathers and fibers and pull them tight.
- Using a gator grip or a roach-style clip, grab the stack from the bottom and start spinning. As you go, you need to pick and brush at them as you wrap because you want to cover as little of the materials as possible. Spin it tightly until you have a small center core.
- Wrap the twisted materials forward and sweep the feathers and chenille back with each turn. Wrap the materials up to the conehead and tie it off. Trim the excess materials.
- Pull out a hefty clump with a fusion dub and even the tips. Place the dubbing clump (middle part) against the back of the conehead and place a couple of loose wraps around the dubbing. Once you have a couple of open turns of thread, the next ones should be wrapped tight.
- Pull the dubbing clump’s front side back and tie it off.
- Whip finish, and you’re done!