5 Knot-Tying Strategies
Knot-tying is a skill all anglers must have to ensure success in fishing. Here are ways to learn the 5 most important knot-tying strategies.

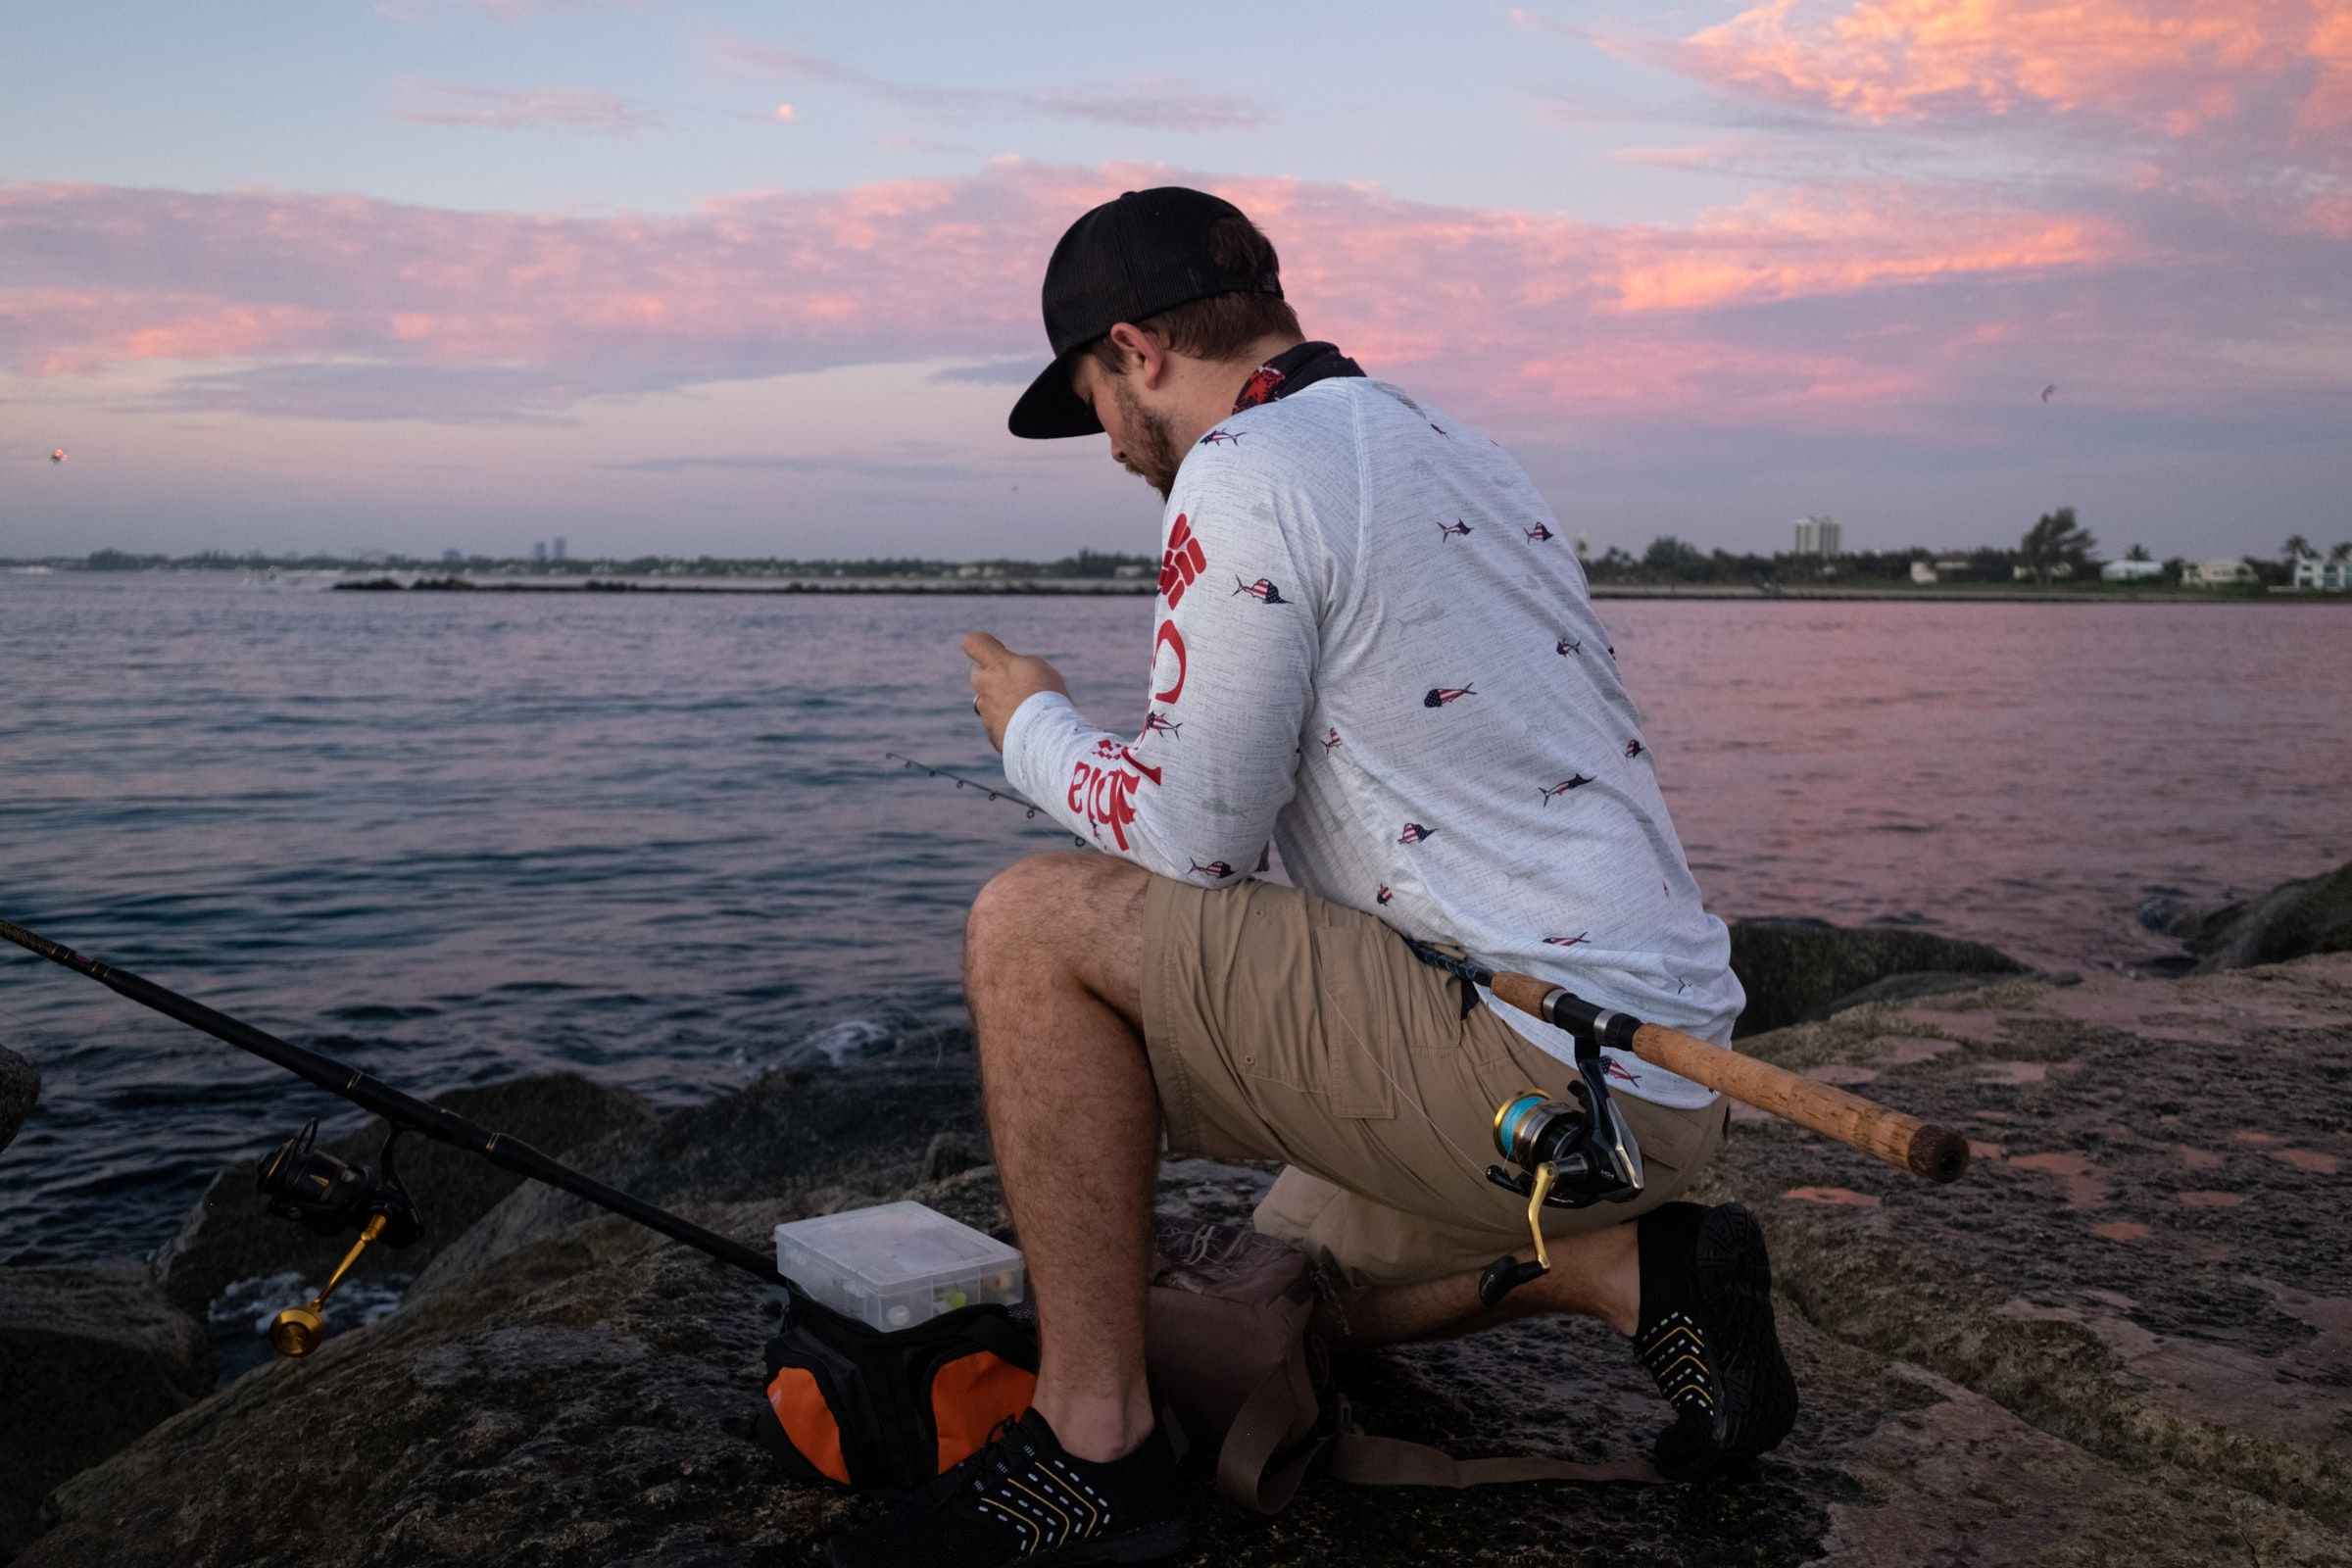
Tying a fishing knot is an essential skill for any angler. Although it may often be passed over by the finesse needed in fly fishing or the dexterity involved in fly-tying, without a proper knot, all the gear in the world won’t catch you a fish.
To discuss each type of knot would be futile – there’s always a new kind of knot popping up somewhere. For this article, we’ll tackle subtle techniques and strategies on tying your knot to ensure that you're well equipped for battle.

5 Knot-Tying Strategies for Anglers

Do it Right, Before Doing it Tight
As the saying goes, practice makes perfect. Sure, if you’re just starting out, it’s going to be a little bit difficult and you might even do it real slow. But as another saying goes, slow and steady wins the race. Before you even consider pulling that knot tight, make sure you’re doing it right. A tight knot doesn’t mean it’s secure and the last thing you need is for the knot to fall apart in the middle of a fight.
Whether you’re just starting out or you’re trying a new knot, we suggest using rope to practice instead of fishing line – the thicker the better. Using hefty rope forces you to exaggerate your movements; not only will you be able to handle it better than an invisible strand of nylon, but it will also allow you to check your technique.
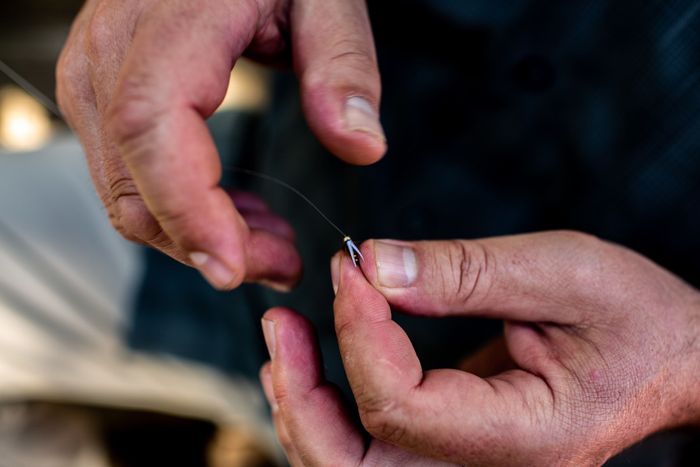
When you’re finally ready to give it a go, give yourself a lot of extra line to work with when tying your knot. Running out of line can cause you to skip steps or reduce the number of wraps needed on a specific type of knot. You could also end up with a short tag end that can slip into the knot unwittingly.
Wet it Before You Set it
Friction is the enemy of any machine’s parts, whether simple or complex, and you need to look at the knot as a cog in your tackle. Wetting the line creates less friction, letting it slide more smoothly, thereby protecting it against abrasion and burns when the line rubs together. Lubricating it can also help make the knot tighter and prevent it from weakening the line.
A lot of hardy anglers out there simply use good ol’ fashioned saliva, which works wonders, particularly with a blood knot on heavier mono. Don’t be conservative either – you’ll need quite a lot of saliva to get the knot nice and wet. Just make sure the line is clean before you put it in your mouth.
However, if you want to be a little bit more civilized, there are numerous commercial knot lubricants out there that are better suited for that kind of task. These can also prevent line memory, which is when the line starts to bend to the shape of the spool.

Be Silky Smooth
You can’t just tighten the knot by giving both ends a half-hearted pull nor can you pull it tight too quickly. Understandably, you may want to give it a good tug since lines can handle a lot of pull. However, doing so can damage your line and risk the integrity of your knot.
Tightening the knot has to be done smoothly and slowly with relatively even pressure from both hands and ends. This ensures that your knot will be tight and will likewise prevent any cuts or burns on your hands. If you’re out targeting light-biting fish like walleye or need to detect the faintest nibbles while jigging, the last thing you need is impaired sensitivity in your hands.
Do Knot Underestimate
Have you ever had a shoelace that just won’t come undone? Maybe you tightened the drawstring in your sweatpants too tight once and couldn’t undo the knot? While you may have been frustrated with those things happening to you, this is exactly what you want with the knot in your fishing line.
After you’ve smoothly tightened your knot, you need to stretch it – this will help the line expand and helps to test its strength. It may be easy to forget to do this after you’ve already tightened your knot, but don’t underestimate this step.
Simply hold the ends of the line in each hand, stretch it firmly for about two to three seconds with slightly greater pressure on the main line, and apply a light rocking motion back and forth. Conduct a quick visual examination to check if the knot has retained its general shape and if all the turns and wraps are secure before clipping the tag end.
And please, for the sake of your teeth, you should use a pair of nail clippers to snip off any excess line. In fact, a decent line cutter is one of the tackle box essentials of any self-respecting angler. Having the proper tool to clip the line is cheaper than having your teeth replaced.
Tie and Tie Again
It doesn’t hurt to re-tie your knots – in fact, you just might want to regularly do it after each catch or after a few hours of fishing near abrasive structures. Yes, it may seem laborious and perhaps even a bit obsessive, but if you have time, it doesn’t hurt to err on the side of caution. This holds especially true for light lines and flexible mono which are more prone to wear and tear. When re-tying, make sure to check the line in front of the knot for any imperfections or abrasions by gently running your thumb and forefinger along it as well.
Knot Your Average Angler
If you want to be at the top of your angling game, you need to practice and make it a habit to do things the right way. The best fishermen out there know that regularly maintaining your gear and checking that your techniques are correct can determine if you’re going home with an empty net or a full catch. Knot-tying is one of the most vital parts of fishing, even though it’s sometimes grossly underestimated.
Your fishing line is essentially what connects you to the fish in the water, and a good knot will ensure that connection stays intact. We hope these 5 knot-tying strategies help you out on your next trip – don’t forget that a poorly tied knot will be the weakest link in your rig, no matter how expensive or flashy your tackle may be.


