Tips on Tying a Double Barrel Popper
There are many ways to catch your trophy fish and using a double barrel popper is just one of them. Here are all the tips you need.

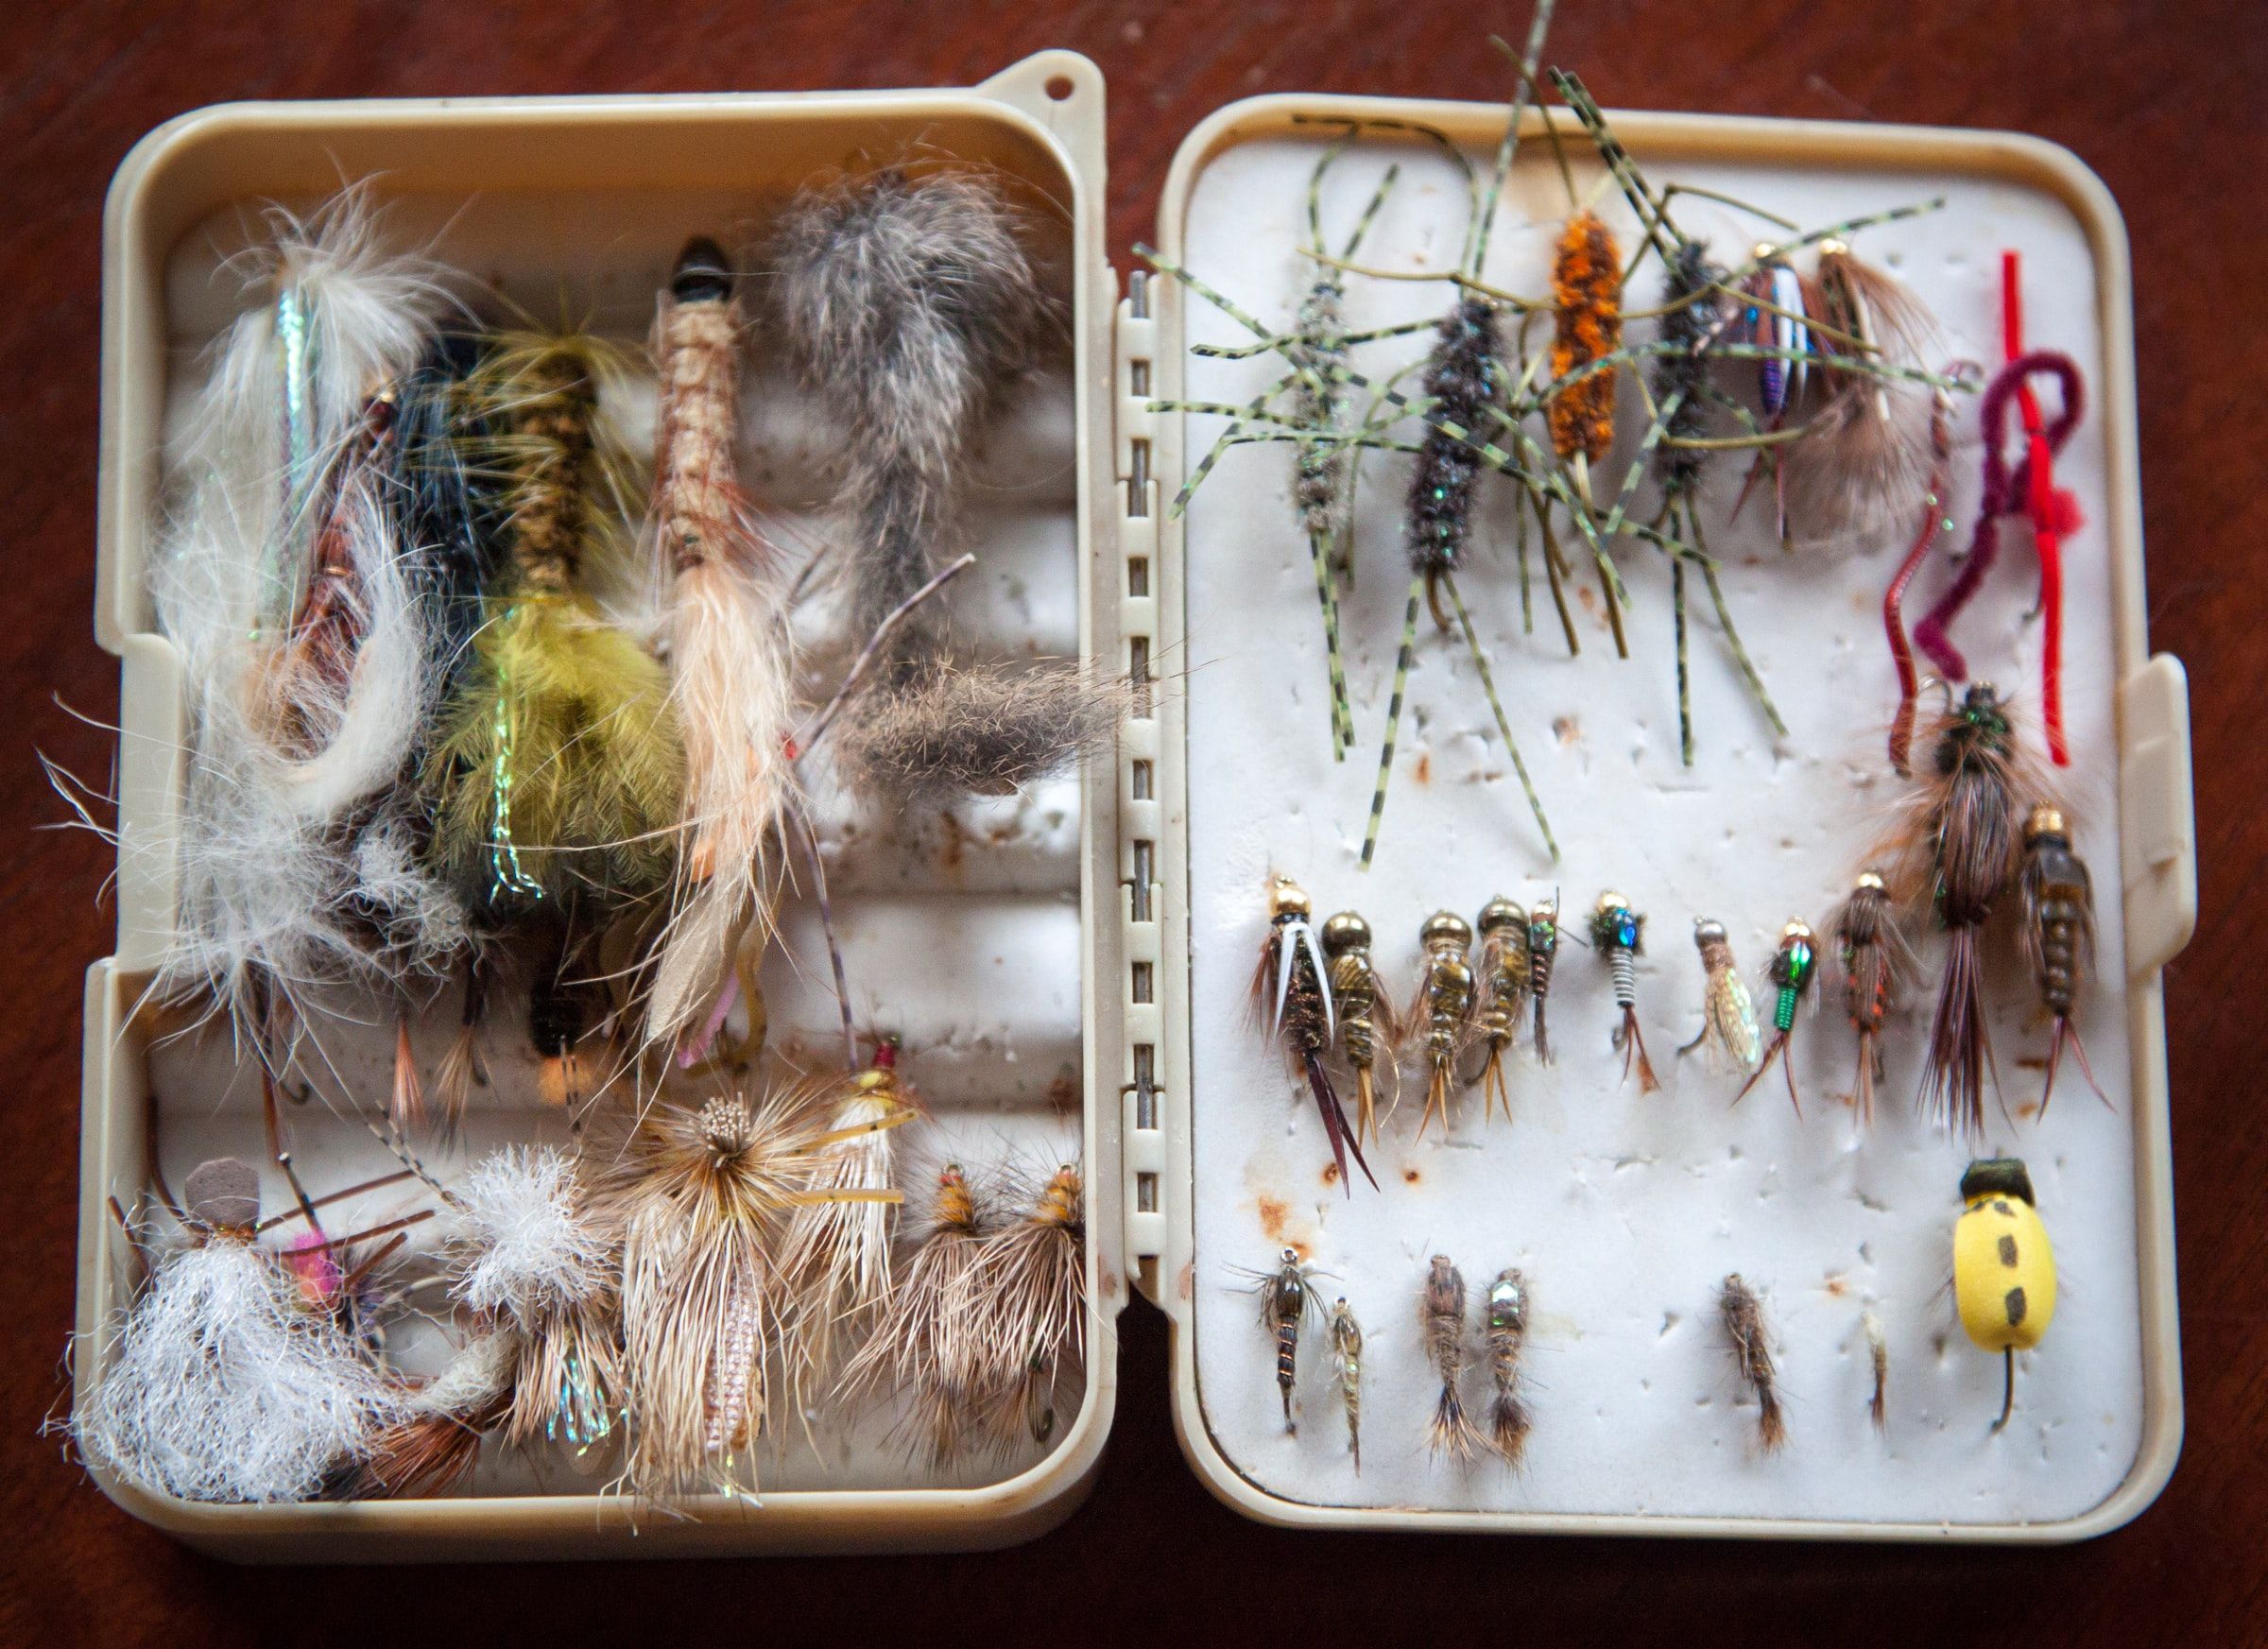
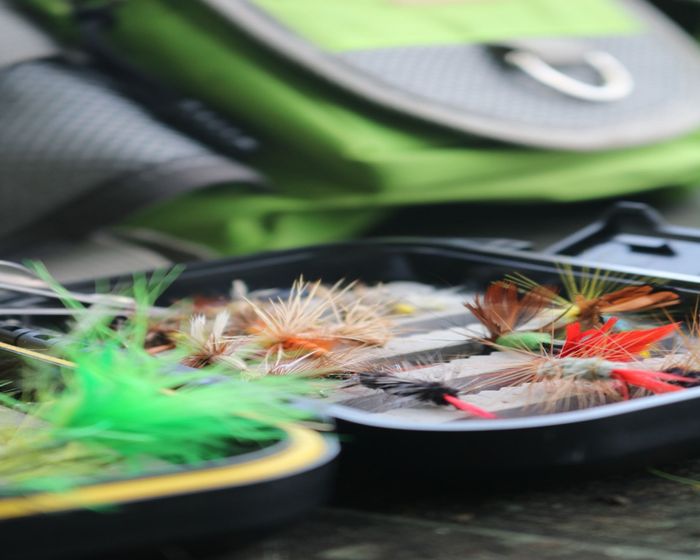
Double barrel poppers are one of those unique topwater lures that are often overlooked even though it has established its own style of fishing called popping. Often made of wood, plastic, or foam, these lures have hollowed-out noses that make a "popping" sound, which helps them move them on the surface like distressed prey. They’re often used for smallmouth bass although a few anglers have tried it on coho salmon as well.
While you can certainly buy poppers already dressed up, the serious angler will usually purchase a plain popper and customize it to fit the target species they’re angling for. If this sounds like you or if you’re just starting out, here are a few tips on tying a double barrel popper.
Tying a Double Barrel Popper
Paint It
If you got yourself a plain white popper head, you’re going to need to paint it with your desired color. Before you even start tying in the materials, it would be best to do this first so that your feathers don’t get stained.

Using an airbrush might be preferred, but if you don’t have one, a cheap and quick method would be to use a marker and a can of compressed air. These cans are often used to clean out the inside of electronics but it can be a handy way to get a high-precision DIY airbrush. These canisters usually come with a thin plastic “straw” that attaches to the nozzle to allow you to control the precision of the spray. All you need to do is rest it close on the tip of the marker so that the air blowing out will spraying the ink. Use short controlled bursts of 1 to 2 seconds.
If doing a multi-colored double popper we suggest starting with lighter colors first. If not, simply spray on your base color before working on any designs. It may take some practice but it’s not too difficult to learn, and it's very cost-effective. After you’re done painting it, you can brush some clear nail polish on to make the ink stick better for an added layer of protection.
Spin the Needle
If your popper doesn’t have a hole in it yet, you’ll need to make one. Don’t just push the bodkin through though – you’ll need to heat the tip first to help it slide in smoother. You can use a lighter to heat it up and once it’s hot enough, push it into the narrower end of the head, making sure it exits to around only one-third of the popper’s face. Before you take out the needle, give it a little spin clockwise for about 2-3 revolutions so that the hole becomes more evenly shaped. This also helps it retain the shape better, and helps it pop better in the water.
Head and Tail
Having a "bushy" tail will help anchor the fly on the water's surface and will prevent it from skating upon the retrieve. While popping is best on still waters, having a tail is handy if the water gets a bit choppy. Anchoring it down puts it in a better position to make its iconic popping sound as well.
The materials you use for the tail will depend on the size of your double popper, but most usually average at around three inches in length with a tail roughly equal to the length of your hook's shank. Marabou or rooster neck feathers are commonly used and are a great choice.
Now, marabou may be known for not being extremely hardy, but there are a few things you can do to make it more durable. First, preen it by using a toothbrush to comb the feathers back, checking to see that they’re evenly spread out around the shank and if there’s any fuzzy material on the bottom, make sure to strip that off. When tying it in, make sure the stems are completely covered in thread and adding a small drop of head cement or thin UV resin will help protect the most delicate part of the tail.
Do the Twist
Creating a faux dubbing of sorts for poppers can be highly effective for your surface lure. You can blend in two kinds of feathers or combine one part feathers to one part chenille. Not only will it look more visually pleasing, but it can also help strengthen it as well.
If using feathers, place them one on top of the other, so that they appear like a single piece, and wet the tips. Next, you’ll want to tie the two tips together right above the barb, wrapping it forward about 3-4 times, and then folding it back to repeat the wrap in the opposite direction. This effectively creates a double-layered structure, helping it to become more durable.
When using a feather with a chenille, you'll use a similar process, except you'll execute a spinning method instead of folding it in. While holding the two materials together, twist them at the base so that they become intertwined, wrapping the chenille around the stem of the feather. Afterward, simply pluck the feathers out of the bind to create the appearance of the tail.
It’s important to stroke back or pluck out the feathers no matter which method you choose so that they don’t become locked inside the twisted faux dubbing.
Sticky Eyes
Once you’re done putting on the materials, it’s time to place the eyes. While there are numerous options available from large to slanted, using holographic or reflective eyes helps make your popper stand out better in clear waters.
When attaching your eyes onto the head, we highly recommend using CA Glue or Cyanoacrylate, which is a fast-acting adhesive that is often used in industrial applications. After you’ve placed the eye, cover it with UV resin and cure it with UV light. This keeps the eye in place and helps it withstand even the most aggressive topwater retrieves.
It's a Wrap
Once all your materials for the tail are tied in, you’ll want to wrap some thread around the material right at the base. Your goal is to create a tail that juts out at an upward angle. This helps mitigate rolling and allows the popper to pop better on the surface. Additionally, make sure to trim any excess leg material (if any) so that there’s ample hook exposed and not hidden with threads or material.
Pop It Like It's Hot
Once you've finished tying your popper, the only thing left to do is to grab your rig and head out into the water to try it! We hope these tips on tying a double barrel popper helped you out, and hope you get to catch some trophies!


