Advanced Nymphing Tips and Tricks
Advanced nymphing tips and tricks. Learn about water depth control, line management, strike indicators and casting. Part of 6 part nymphing series.
Advanced Nymphing Tips and Tricks
Once you learn the basic nymphing techniques and have assembled a collection of flies to test out on the water, you will very quickly start to realize how much practice and patience come into play with this pursuit. Fly fishing, in general, takes plenty of practice to get the hang of, but it is well worth it. Once you start to get the hang of the basics, there are even more small tricks and techniques that can very quickly take you to an entirely new level! Here are a few of our more advanced tricks and tips, for anglers who have mastered the basics.
Advanced Tactics - Water Depth, Line Control & Casting
Water Depth
We discussed that 70% of trout are looking for food at the bottom 6"-12" (The Zone), understanding the water depth, speed, and how long it takes for your setup to get down to the zone is critical. Therefore, water depth is one of the most important keys to catching trout with nymphs. If you're not touching the bottom, you are not deep enough. In the basic techniques article, we discussed setup configuration, but typically a tapered leader going from a strong 20-30 lb test to a 3x-6x setup is typical. The nymph is driven by the weight and current, not the leader. Generally, the leader doesn't turn over the nymphs, it's the weight (split shot) that turns it over, allowing maximum flexibility with the strike indicator along the mono length, a long piece of monofilament to work with to move my indicator up and down.
The first key to controlling depth is your strike indicator. There are so many strike indicators on the market.

Top 6 Strike Indicators:
- Yarn or wool (New Zealand Styles as well) – great for crystal clear water and especially shallow clear water
- Dry Flies – Great when a nymphing/risers combo opportunity exists
- Thingamabobbers or Balloons – The go-to for fast-moving water. Always float, always visible
- Foam (Football Style) – easy to use and see
- Bicolor Monofilament – useful for euro-nymphing
- Indicator Coils / French Curley Q – attach inline so a more permanent solution but very handy for small nymphs. A bit more work and a bit tricky.
Each indicator has slightly different uses, but we like the top 3, yarn indicators, dry flies, and Thingamabobobbers. Keep a few of the top 4, and you are ready for any conditions. But clearly, the primary indicator goals are to float, be visible, and not spook the fish. The above indicators provide good nymphing flexibility, so which to use is a matter of preference and practice. I keep floatant handy at all times and apply as needed. I like white or bright orange depending on the conditions.
Leader length is another crucial factor in depth control. We typically advise leader length at least 1.5x the water depth but lately have been stretching that to 2x but never less than 9'. Because water depth and current go together to determine how quickly the nymph gets down, it is a process of trial & error between length, indicator, and weight. While it doesn't take long to lengthen the leader, I find it easier to go a bit long and find the right indicator and weight to get the nymph to the right spot. We haven't talked about water speed, but fast-moving water requires a different approach from slow-moving water. A natural sink in crystal clear water goes a long way, but fast-moving deep water needs a good indicator (Thingamabobber) and enough weight to get down and stay down in the current.
The last factor in good depth control is the weight. It is always good to carry a weight selector pack with 4-8 various slip-shot weights. Most people tend to favor one or two weights, but a little flexibility is always right. Learning the sink rate in crystal clear water helps when you can't see the fly, so practice, practice, and practice. I use one size in most situations because I have learned its sink rate through the years. Once on the water, the weight is the first adjustment I make. Getting the sink rate and distance correct is step 1, then I adjust the indicator.
Iteration and continual adjustment is nothing new to an angler. We are tried and true finaglers of all things, so it will come as no surprise that adjustment, fishing patterns, and trial and error are the last factor in getting to the fish. The majority of trout are holding in the bottom six inches of the water (if they are not feeding on the surface or otherwise gorging). This layer of water does not move nearly as fast as the rest of the water, and therefore allows a trout to rest and hold in a feeding position without expending too much energy. Putting the fly into that zone is the key.
To give you an example, say I'm using a 10-foot leader, a size 18 Brassie and a size 18 BWO Emerger (my usual late Fall setup), with two pieces of #6 split shot. My indicator is probably six inches below my fly line on the leader. I make a few casts into likely holding areas, i.e. in front of rocks, along the seam that is formed by the back eddy behind rocks, along with seems of slack water/fast water, etc.
The water is moving fast and has some deep pockets. The first few casts are not getting nearly enough depth to get into the zone. If the nymph doesn't get into the zone, you will miss most of the catch opportunities! You now have to move into the iterative process, evaluate weights, indicators, maybe even a sinking tip. When fast and deep, starting with the right weight is an excellent approach. You have so many options, and like any great strategy, there is a plan, a reason to try approach one first and adjust from there. You are there, eyes on the water, and have to make the call on what you estimate will give you the best success. Over time you will find that happens faster and faster if you take the time to evaluate, decide, and measure your successes and failures.
Let's look at the opposite situation. The water is slow and shallow. Every cast snags the bottom very early in the drift, and your flies are not spending much time in the zone. We go back, analyze, and iterate. Remove some weight (removing split shot can be a pain in the butt), take off a bit of tippet (even more work), or shorten the strike indicator or even change it. Suggestion one, when shallow and slow, adjust the strike indicator first.
Every angler seeks the ideal drift but really, do we discuss what that is. The perfect drift is a gentle float that touches the bottom or near bottom with the water current right before the spot you project the fish are lurking. The fly shouldn't go straight down into that spot; it needs depth above that location and time to float into the zone as it approaches the fish. The middle of the drift is when your indicator is adjacent to you. Many anglers adjust the cast to achieve the perfect drift by the middle drift. Every pool fished may require slightly different setups, although they typically follow a pattern. Hint: keep 2 or 3 setups already tied at various lengths and nymphs before arriving at the water, so you are ready to act fast. More time fishing is more chances to catch fish.
Line Control
Line control is an often-overlooked factor in nymph fishing. Many people fish large strike indicators, which cause drag and drifts faster because of the increased surface area. To get a longer drift and more control, use an appropriately sized strike indicator and try to fish within 30 feet or so.
Try to work close into a seam in the current and cast upstream at a 25-40 degree angle. Strip the line as it drifts with the current until you get a good drift. If necessary (depending on the current), give the indicator a quick flick without moving. Feed a bit of line as it drifts by you downstream while making sure you don't let slack in the line. When the indicator has reached about thirty feet below you, hold the line to swing the nymphs. This tailing action causes the nymphs to swing upwards towards the surface, which can stimulate strikes from fish that mistake your nymphs for an emerging fly.
Another trick, occasionally lift the rod tip sharply to set the hook. There will be a fish there more times than you would expect, but you will never have noticed.
Casting
Anglers of all skill levels sometimes have difficulty casting split shots with two or even three nymphs. Always remember the perfect cast is the cast that gets you fishing and not the ideal location, this is never more true than nymphing. Tangled leaders, false casts, and rigging is time spent not fishing. When we talk about nymph casting, remember slower is better, and patterns matter more than casts. Many nymph casts are roll casts, water haul, or half casts. When doing a typical cast, keep the line short, control the rod tip, and extend the rod tip forward a bit more than usual. Accentuate the rod tip forward pointing of the cast. If using a roll cast, you typically target a 20-30' cast, so keep it slow and steady, keep the rod tip high so you can turn the line over.
The water haul is a simple cast. Take a straight backcast with little to no slack. Then, with the rod parallel to the water and pointing 180 degrees away from the direction you want the cast to go, using a fair bit of power, make a forward cast while doing a single haul at the same time, allowing the line to shoot as you do so. The water haul is a standard cast with a double nymph fishing setup.

Don’t Be Afraid of Using Smaller Nymph Patterns
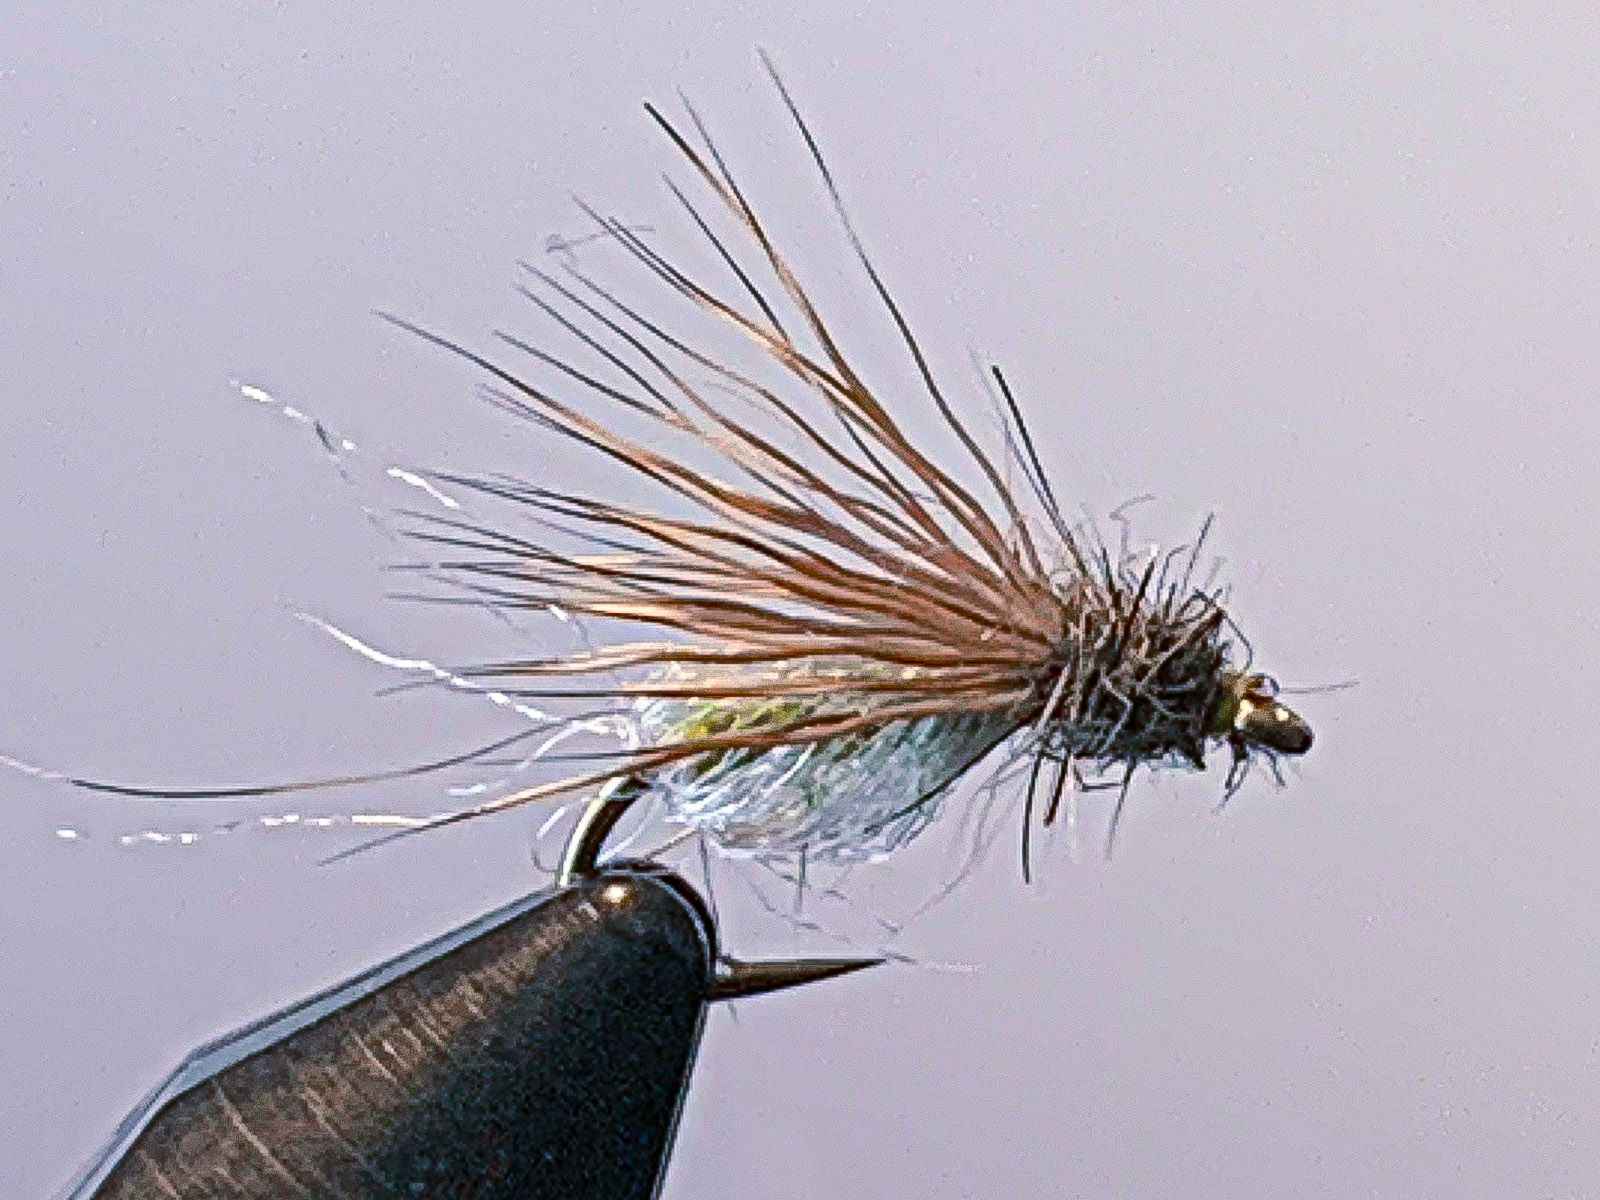
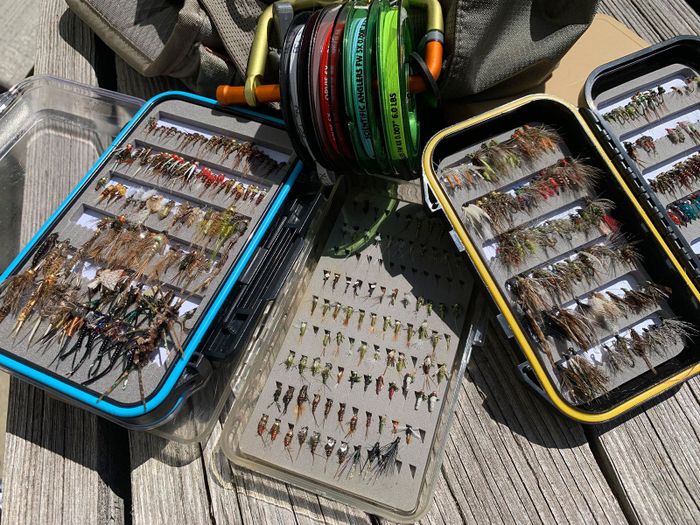
Fish are not known having a correlation between the size of their mouths with the size of their prey, so many anglers will pay little attention to their lure size as long as it is not ridiculously too big or too small. Even for fly fishermen, many will pay close attention to the size of their flies when using dry flies, but then when it comes to nymph fishing, they will regularly grab the largest one they have. A simple trick when the fish are being challenging and picky eaters is to downsize your nymphs. Once you start opting for a size 16 or 18 instead of a 10 or 12, you will start to see even more success.
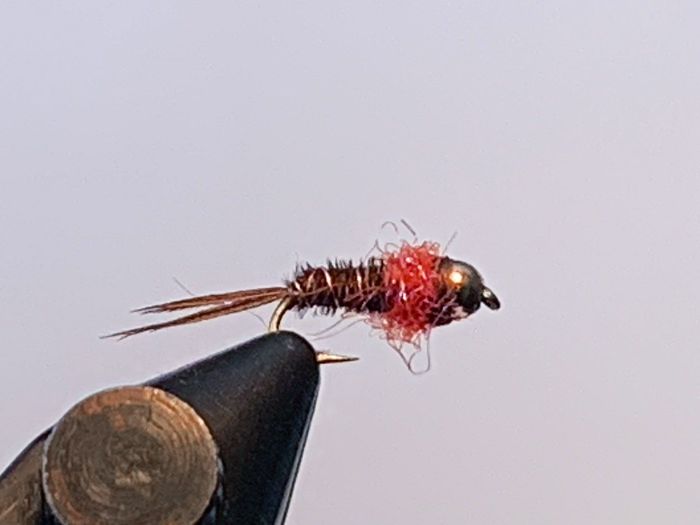
This might seem a little counterintuitive since it would make sense that a larger nymph would attract more attention and seem like a better meal for a trout. But when you think about a trout’s natural bait, smaller nymphs are a lot more common than large ones. As a result, they are much more in the habit of trying for smaller nymphs. They also do not like to expend unnecessary energy, so smaller prey that gets too close is much more likely to attract a bite.
Trout, like many species of fish, will also be much more selective when feeding if there is an abundance of food. Once they have a full stomach, they do not need to eat as much and will often be much more sluggish. While you often see this phenomenon while using dry flies, it sometimes goes unnoticed when using nymphs because it occurs under the water. Make sure your nymph selection includes plenty of patterns in sizes 16 and smaller, and don’t forget to regularly use them!
Don’t Get Stuck On One Spot
This is one of the biggest reasons that novice nymph fishermen are unsuccessful. How do you know if you have this problem? Have you ever caught yourself nymph fishing the same spot for twenty to thirty minutes without getting a strike and not moving? It is hard to give up on a spot that looks excellent, and maybe you have even caught fish there before. But one of the secrets of the most successful nymph fishermen is the ability to know when to call it quits and move on to the next spot.
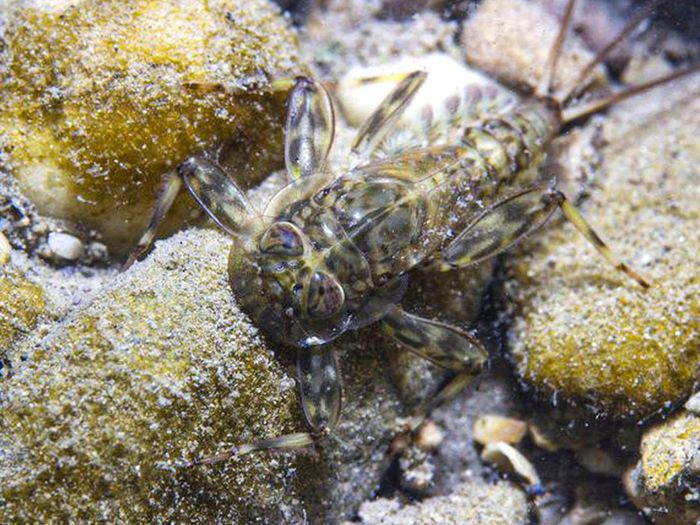
Because you can’t see your nymph or the fish, you have to carefully fish a piece of water the best you can and then move onto the next piece. Whether that is simply a few feet upstream or lengthening your cast to fish a different section of the water, changing the area you target is key. While there is no set limit for how long is too long, it is time to move on once you feel you have adequately fished an area. Always be on the lookout for the next good-looking fishing spot to cover with your nymphs, and constantly be moving.
Use as Little Line as Possible
One of the biggest hurdles of nymph fishing is being able to detect a strike and then setting the hook before the fish gets away. No matter what tactic or technique you are using to get your nymph in front of a fish, this will always be one of the most important parts of the process of catching fish. To achieve success, shorten the amount of line you have on the water, and you will be much more effective at detecting strikes and getting more hookups.
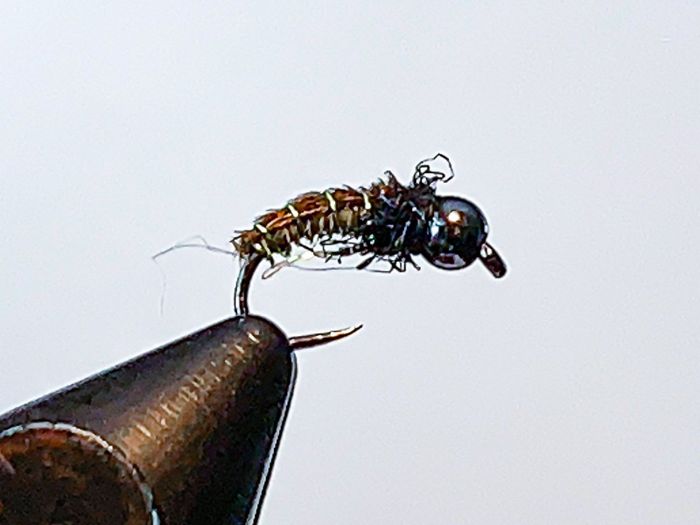
If you are using a strike indicator, it is obviously much easier to detect any strikes. Even when using a strike indicator, it is much easier to not only see the indicator but know if a fish is moving it when it is closer to you without any slack line out. When you are not using an indicator, you are relying on feeling a strike, so it is even more important to have as little line out as possible.
After you see or feel a strike, a shorter line will also help you hook up and reel in fish. Every inch of additional line you have out is just more potential lag time between seeing or feeling a strike and being able to set the hook before the fish spits it out. Trout can spit out a fly extremely fast, and even the best anglers will miss plenty of fish. When you are nymph fishing, you have to try to tip the odds in your favor, and fishing a shorter line is one of the best ways to do it.
Conclusion
Even the best nymph fishermen miss and lose fish, and they are constantly learning and trying to improve their skills. Nymph fishing is a pursuit that never ends, and one that you can continually try to improve your skills on. After mastering all of the basic techniques, you can then start to learn and implement some subtle but important tricks into your fishing in order to help bring you even more success. So grab your gear, hit your favorite fishing hole, and put these more advanced tricks and tips into practice!
Check Out the Nymph Series:
The Guidesly Nymph Series walks the angler from introduction thru techniques, tactics, flies and latest trends. For fly tiers we have several of our favorite nymphs along with our resident fly tier Sean putting together nymph how to videos.
- Introduction to Nymphing, Learn what is Nymphing, the art of fly fishing with a nymph
- Basic Techniques of Nymphing, Learn the basic techniques involved with nymphing
- Advanced Nymphing, Discuss the details of nymphing techniques
- Top 10 Nymph Flies, See the top 10 nymph flies with fly tying videos
- Euro Nymphing, The latest trend in nymphing is European style nymphing.
- Trout of North America, Find your nymphing prey. Learn about the top 10 trout species of North America.


