How to Avoid Backlash on a Baitcaster: Setup and Casting Tips
Learn how to cast a baitcaster without backlash. Explore spool tension adjustments, brake settings, thumb control, and tips for fixing a bird's nest.

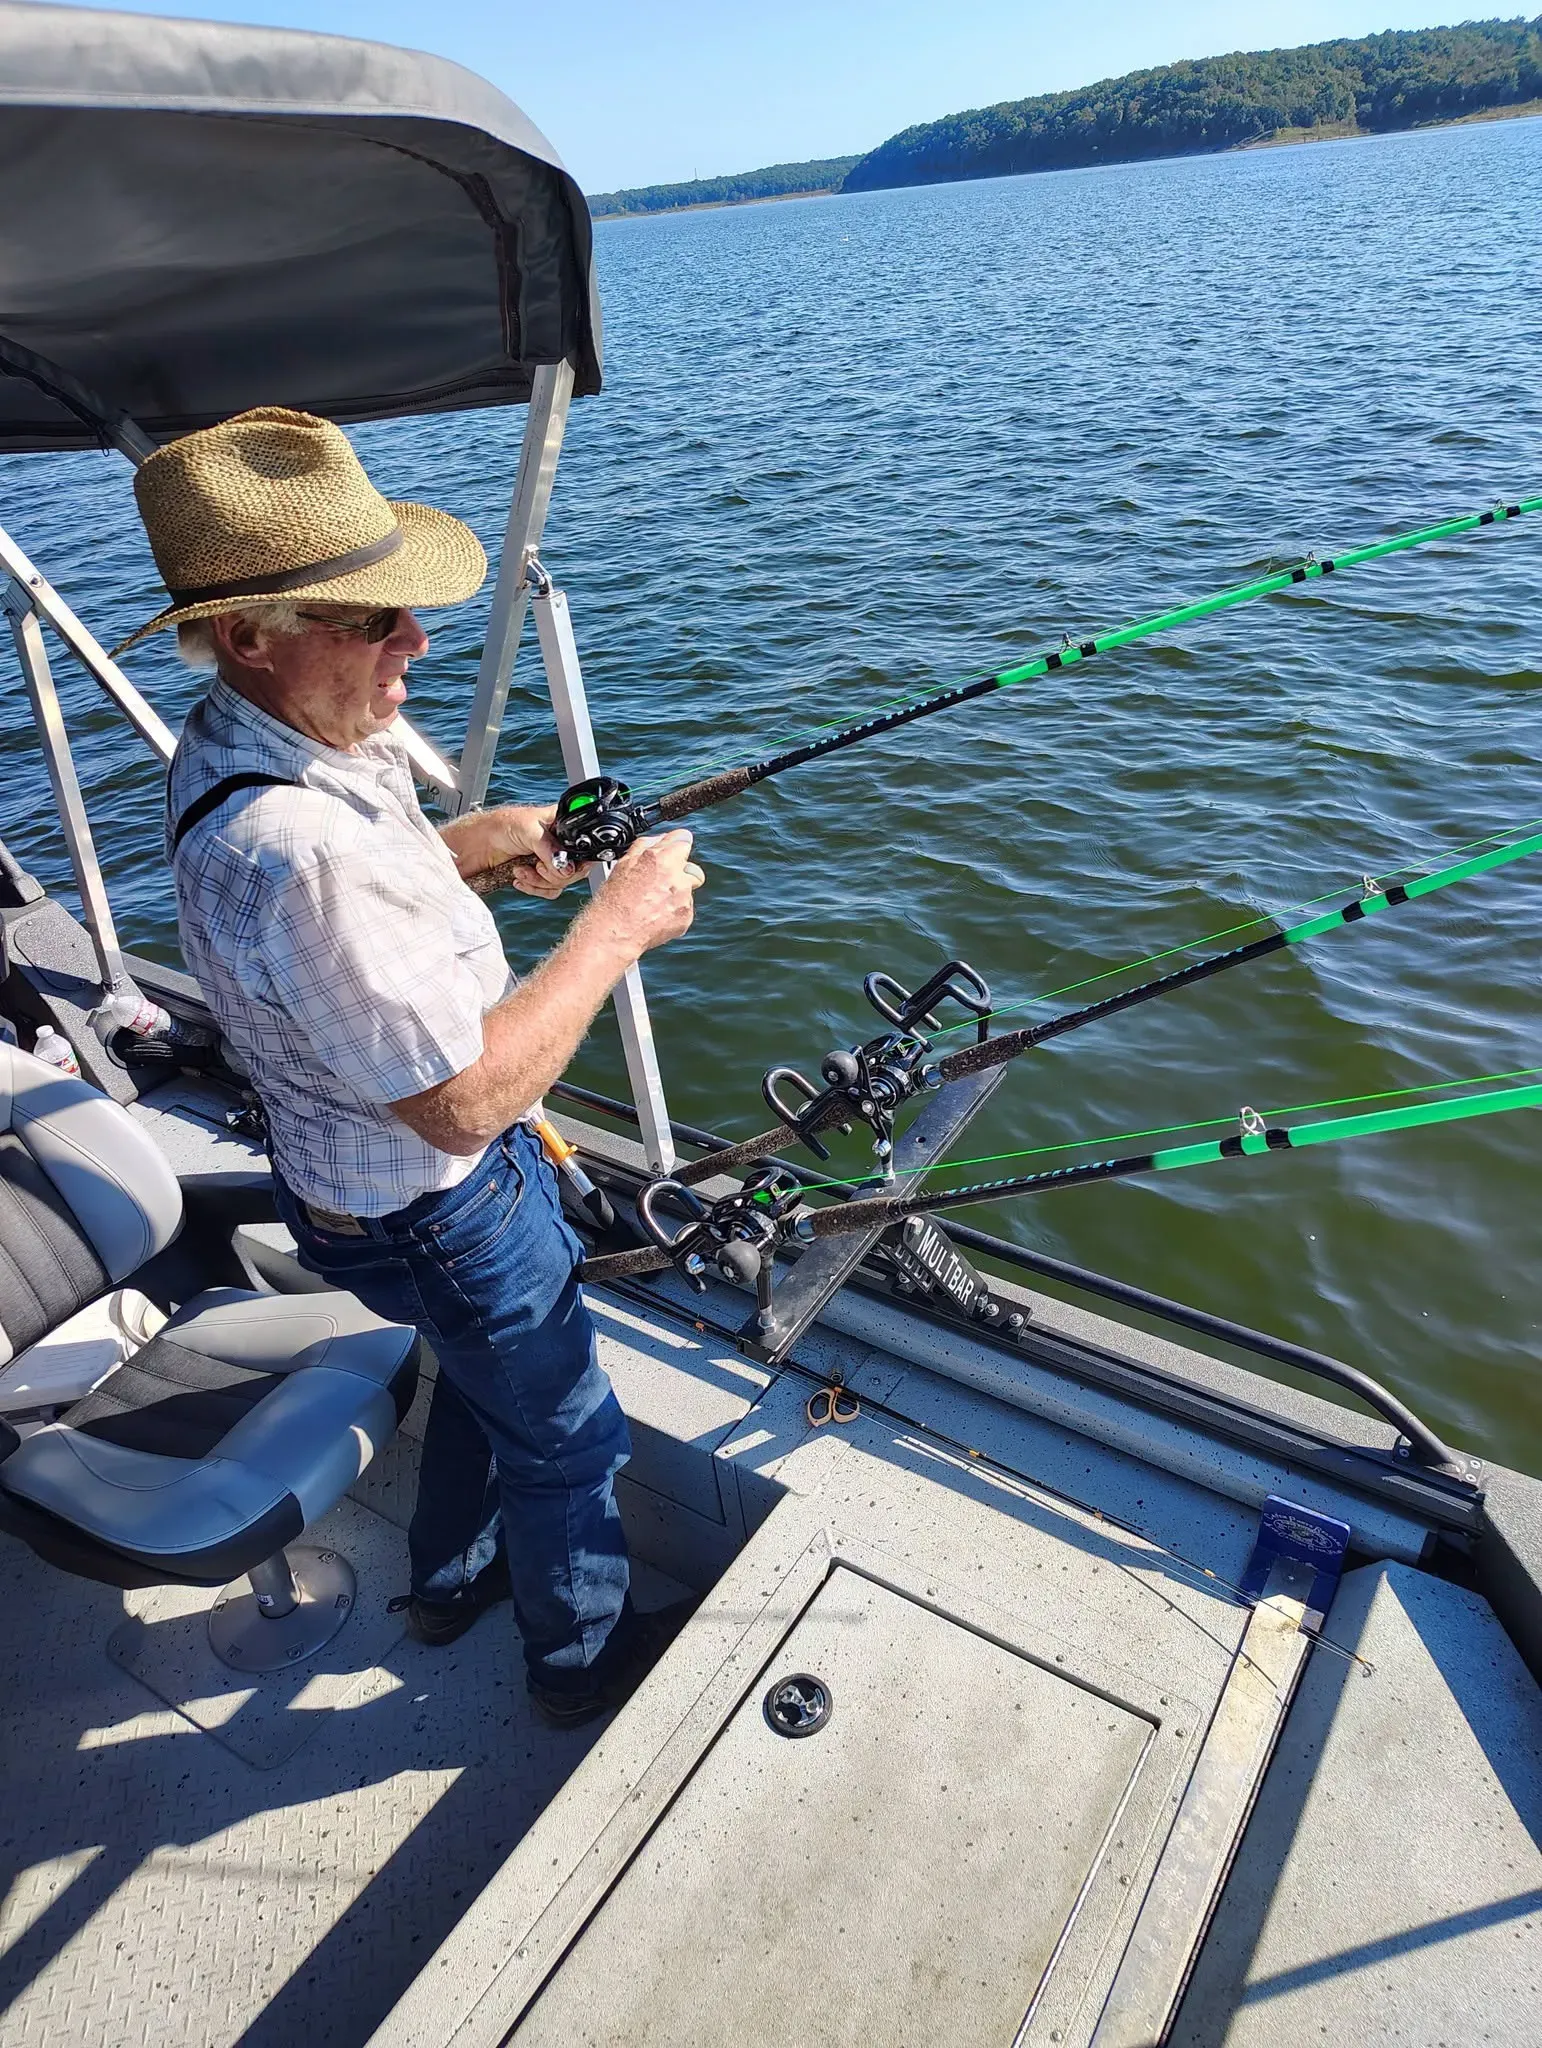


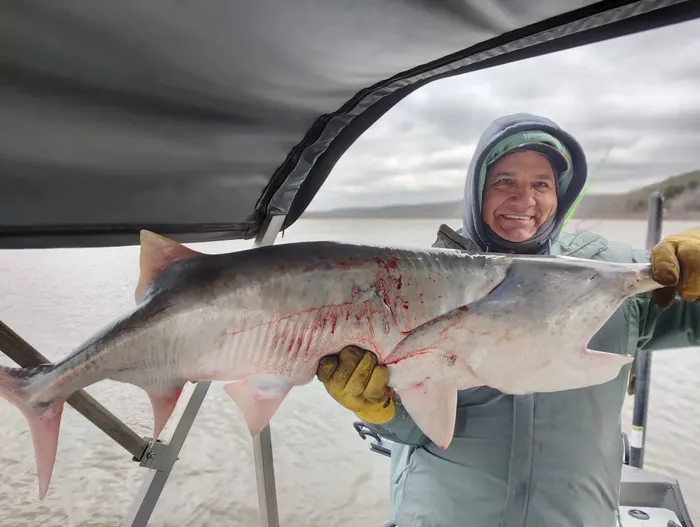
A baitcaster puts you in the driver's seat when it comes to lure placement, opening the door to a whole range of different fishing techniques. Getting the hang of one takes a little patience, though, especially once backlash enters the picture.
Unlike a spinning reel, a baitcaster relies on a rotating spool that has to match the exact speed of the line flying off it. The second your lure slows down while that spool keeps spinning, loose line piles up on itself, leaving you with the dreaded tangled mess anglers call a bird's nest. This is one of the biggest hurdles when learning how to cast a baitcasting reel. But it doesn't have to become a recurring problem.
Once you wrap your head around spool tension, dial in your braking system, and build up a little thumb control, things click into place fast. Let's walk through why backlash happens, how to get your reel properly set up, smooth out your cast, and keep backlash from ruining a good day on the water.
Why Does Backlash Happen When Casting a Baitcaster?
A baitcasting reel is a completely different beast than a spinning reel. As you cast, the rod propels the lure forward, pulling the line off the spool and causing it to rotate as the line leaves the reel. Trouble starts the moment that spool spins faster than your lure can actually pull line off it. With nowhere else to go, all that extra line gathers into loose loops right around the spool, loops that quickly overlap, cinch down, and turn into the classic bird's nest tangle.
This can happen at different stages of your cast:
At launch: You release the lure, and the spool accelerates too fast right out of the gate, kicking up loose line almost instantly.
During flight: Air resistance slows your lure mid-air, but the spool may continue rotating faster than the line is leaving it.
At landing: Your lure reaches the water or target, but the spool keeps turning and releases an extra line.
At the end of the day, your main focus needs to be on keeping the spool's speed synced up with your lure from start to finish. That's where spool tension, your reel's braking system, and a bit of thumb pressure step in to keep everything under control.
How to Set Up a Baitcasting Reel to Prevent Backlash
Before working on your casting technique, make sure your reel is properly adjusted. Poor setup can make even a controlled casting motion difficult to execute without an overrun.
Start With the Right Spool Tension Adjustment
The spool tension knob determines how freely that spool spins during a cast. Turn it clockwise to crank up the tension and slow things down; turn it counterclockwise to loosen things up, so the spool spins faster.
Leave it too loose, and the spool keeps spinning well after your lure slows down, inviting backlash. Crank it down too tight, and line won't peel off smoothly, choking your casting distance. What you're really after is that sweet spot where the spool stays tame without strangling your cast.
Here's how to make a traditional spool tension adjustment:
Tie on the lure you intend to cast and reel it up until it hangs several inches below the rod tip.
Hold the rod horizontally and press the thumb bar to disengage the spool.
Keep your thumb lightly against the spool and gradually release the pressure.
Observe how the lure falls when the spool is allowed to rotate.
Adjust the tension knob until the lure descends steadily rather than dropping freely.
Ideally, the spool should stop or nearly stop as the lure reaches the ground.
This gives you a solid baseline, especially while you're still getting the feel for throwing a baitcaster. Once your thumb control improves, you can make small spool tension adjustments, depending on your lure weight and casting conditions. Avoid loosening it so much that the spool continues overrunning after the lure lands
One important distinction: not every baitcasting reel uses the same spool tension adjustment. Some have preset tension systems or specific adjustment procedures. Check your reel's operating instructions before attempting the drop test.
Avoid tightening the knob until the spool barely moves. That might reduce backlashes, but it also makes the reel work harder than necessary.
Understand Your Baitcaster Brake Settings
Spool tension doesn't do all the heavy lifting on its own. Your reel's braking system also helps regulate spool speed throughout the cast. Baitcasting reels use different braking systems, including magnetic and centrifugal brakes. Some also feature electronically controlled digital braking systems.
Magnetic brakes: These use magnetic resistance to slow the spool down, typically controlled by an easy-to-reach dial on the outside of the reel.
Centrifugal brakes: They rely on friction from internal brake blocks or pins that engage as the spool spins, adjusted according to your specific reel's design.
Digital braking systems: These use built-in electronics to monitor spool speed and automatically adjust braking mid-cast.
What matters most is figuring out how much braking your reel actually needs. Dialing up the brakes gives you tighter control over the spool, while backing them off lets everything spin more freely. When learning to cast, it is ideal to start with a relatively high brake setting.
This gives you a larger margin for error while you develop your thumb control. Make a few short casts and gradually reduce braking in small increments until you find a setting that gives you a clean cast without excessive resistance. Just don't start twisting every dial at once. Adjust one setting, make a handful of casts, and pay attention to how the reel behaves. Otherwise, you'll have no clue which tweak actually fixed the problem.
Check Your Fishing Line and Lure Before Casting
Even with properly adjusted brakes and spool tension, certain setup problems can increase your chances of experiencing backlash.
Check these three things before making your first cast:
Spool fill: Don't overfill the spool. Your line should sit nicely within the recommended fill level rather than spilling past the spool rim, since excess line tends to peel off too fast and causes additional problems during casting.
Line distribution: Make sure your line lays evenly across the spool. Loose wraps can easily shift or dig underneath tighter coils, especially after a heavy cast or a tough fight with a good fish.
Lure weight: Stick to lures that match the recommended casting weight range for your rod and reel. Anything too light won't have enough heft to pull line off the spool consistently, while the wrong weight overall makes it tough to load the rod properly.
These checks are particularly important when changing lures. A setting that works well with one lure may not provide enough control with another.
How to Cast a Baitcaster Without Backlash
Once your reel is dialed in, it's time to focus on your actual casting motion. Jerking or whipping the rod aggressively forces the spool to accelerate way faster than your lure can pull line off it. A smooth, steady acceleration keeps everything predictable and makes managing spool speed a whole lot easier.
Use a Smooth Casting Motion
Grip the rod comfortably with your thumb resting naturally over the spool. Press the thumb bar to disengage it, then bring the rod back into your casting position.
As you move the rod forward, allow it to load against the weight of the lure. Then transfer that energy into a controlled forward motion.
A few things to keep in mind:
Avoid snapping your wrist aggressively to force the lure forward.
Keep your casting motion smooth rather than accelerating suddenly.
Use a controlled overhead or sidearm cast, depending on the available space and target.
Avoid applying more force than necessary to reach your intended casting distance.
Let the rod do the heavy lifting to launch your lure. Trying to compensate for a poorly adjusted reel by casting harder often makes the spool overrun more severe.
Feather the Spool With Your Thumb
If there's one skill that separates frustration from effortless casting, it's thumb control. Brakes and tension knobs handle the broad strokes, sure, but your thumb gives you real-time, split-second control from launch to splashdown.
Here's how to use your thumb through each phase of the cast:
Before releasing the spool: Rest your thumb lightly right over the spool, so it doesn't start spinning early before your lure actually moves.
At the beginning of the cast: Ease up on that pressure as the lure takes off and pulls line, just avoid yanking your thumb completely off the reel.
During the flight: Hover your thumb close enough to feel the line peeling off, brushing it lightly whenever the spool starts outpacing the lure.
As the lure approaches the target: Gradually increase thumb pressure to slow the spool.
Just before the lure lands: Press your thumb firmly down onto the spool to bring it to a complete stop.
The timing of that final movement matters. If the lure reaches the water while the spool is still rotating, the remaining momentum can create loose loops almost immediately. With time, you'll learn to recognize when the spool needs additional pressure without having to watch your thumb throughout the cast.
How to Diagnose Backlash During Different Stages of a Cast
When a backlash happens, don't immediately tighten every adjustment on your reel. Instead, pay attention to when the spool starts spitting out excess line; that timing tells you almost everything you need to know about what needs fixing.
When backlash occurs | Possible reason | What you should adjust |
Beginning of the cast | Sudden casting acceleration or insufficient initial spool control | Use a smoother casting motion and check spool tension and brake settings |
Middle of the cast | The lure slows down while the spool continues rotating | Increase braking slightly and check wind resistance |
End of the cast | The spool continues rotating after the lure reaches the target | Apply thumb pressure earlier to stop the spool |
However, the exact cause can vary with your reel's braking design, lure weight, and casting conditions. For instance, if the spool overruns immediately after release, increasing the braking slightly may help, but you should also examine whether you're snapping the rod forward too aggressively.
On the flip side, if the cast looks silky smooth right up until your lure nears the water, your thumb timing is likely what needs work. Spotting these differences lets you fix the real root cause instead of endlessly tweaking the wrong dial.
How to Fix a Bird's Nest Without Cutting Your Fishing Line
Even experienced anglers occasionally experience backlash. When it happens, resist the urge to pull hard on the line. All that does is cinch those overlapping loops down tighter and turn a quick fix into a real headache.
Follow these steps to clear the spool:
Stop the spool: Place your thumb firmly over the spool to prevent it from rotating while you inspect the tangle.
Release the loose line: Engage the free-spool mechanism and gently pull the line coming off the reel until you encounter resistance.
Locate the tight loop: Follow the line to identify where one loop has crossed or become trapped beneath another.
Loosen the trapped section: Use your fingernail to lift the tight loop gently. Pull it outward rather than dragging the entire tangle through the reel.
Work through the remaining loops: Continue pulling short sections of line and releasing individual trapped loops until the spool turns freely again.
Check for hidden tangles: Pull out additional line to make sure no tight loops remain buried underneath the outer wraps.
Rewind under tension: Run the line between your fingers while slowly turning the handle. This helps distribute it evenly across the spool.
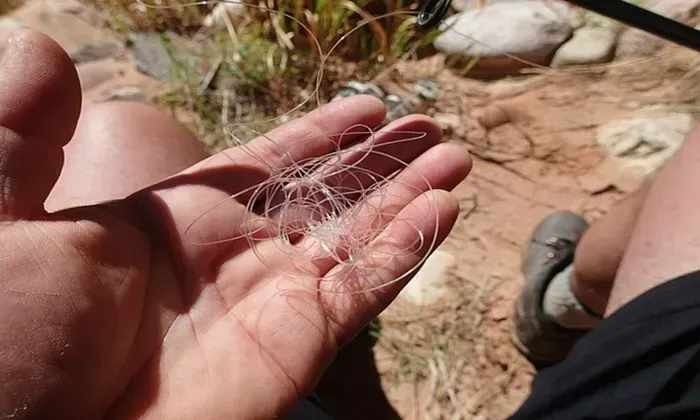
If a tangle runs really deep, you might have to work several loops free one by one. Just steer clear of knives, hooks, or sharp tools that can nick your fishing line or the spool.
Once the bird's nest is cleared, inspect the exposed line for abrasions, kinks, or damaged sections. Cut away any weakened line before making another cast. The main thing to remember is that patience works better than force. Pulling aggressively can turn a manageable backlash into a much larger tangle.
Knowing how to clear a backlash is useful, but preventing one in the first place saves you time on the water. Before heading out, take a few minutes to check your reel, line, and lure setup. These quick checks can help you avoid common casting problems before they start.
Things to Check Before You Head Out with a Baitcaster
Knowing how to clear a backlash is useful, but preventing one in the first place saves you time on the water. Before your next trip, give your reel, line, and lure a final check:
Check spool tension: Make sure the spool rotates smoothly without excessive looseness.
Set your brakes: Start with a setting that gives you enough control, especially when fishing in windy conditions.
Inspect your line: Look for loose wraps, overlapping line, or damaged sections that could cause problems during a cast.
Match your lure: Make sure its weight falls within your rod's recommended casting range.
Test your setup: Make a few short casts in an open area to check whether the spool releases line smoothly. Adjust the brakes or tension if you notice overruns.
These checks can help you catch setup problems before they interrupt your fishing trip.
Take Your Baitcasting Skills to the Water with Experienced Fishing Guides
Getting comfortable with a baitcaster takes more than a few practice casts in the backyard. Once you actually hit the water, you're suddenly adapting to shifting conditions, picking the right presentation, and reading how fish react to your lure. Working with a fishing guide takes the guesswork out of those decisions, all while putting you on productive spots and showing you the exact techniques that work best in local waters.
Explore fishing trips on Guidesly to connect with experienced local guides, discover new fishing destinations, and plan your next trip. Bring your baitcaster along and put your casting practice to the test where it counts.