 November 9, 2022
Quick Book

Inviting guests to book fishing trips can happen anywhere, and sometimes having guests create a Guidesly account isn’t the fastest way to quickly get them booked. That’s where Quick Book comes in- a place where guides can manually input bookings, get guest contact information, and charge a deposit. Quick Book is fantastic for unique bookings like phone bookings and takes your calendar into account for a smooth transaction between you and your guest. When new guests are inputted via Quick Book they automatically are entered in your contacts, so further marketing to guests can occur even faster. Let’s go over what Quick Book is and how it can help you.
The Basics- What is Quick Book?
Quick Book is where your customer will exchange their payment and contact information for the service you provide- in this case, they’ll put their deposit down on a fishing trip. Understanding how to use the Quick Book feature is super helpful to guides in any situation where guests don’t book on the Guidesly platform. For example, if you have your phone number listed on your personal website for guests to call you and inquire about fishing trips you can input all their information over the phone and get them booked. Similarly, if guests email you looking for information or even if you meet a future guest in person that wants to book a trip, Quick Book is your best bet. These bookings are also updated on your calendar, so you can continue using our calendar as your primary calendar for everything you do.
Adding a Quick Book Booking
Now that you understand the functions of Quick Book, let’s practice adding in a new booking.
Getting to the Quick Book screen on Web:
- Click on your name in the top right and in the drop-down menu, hit ‘Guidesly Pro.’
- On the left navigation bar, navigate to ‘Bookings.’
- In the top right, click on the blue ‘+ Add New POS’ button.
Getting to Quick Book screen on Mobile:
- Open your app and click ‘Add a Booking’ on the homepage.

Adding a Booking

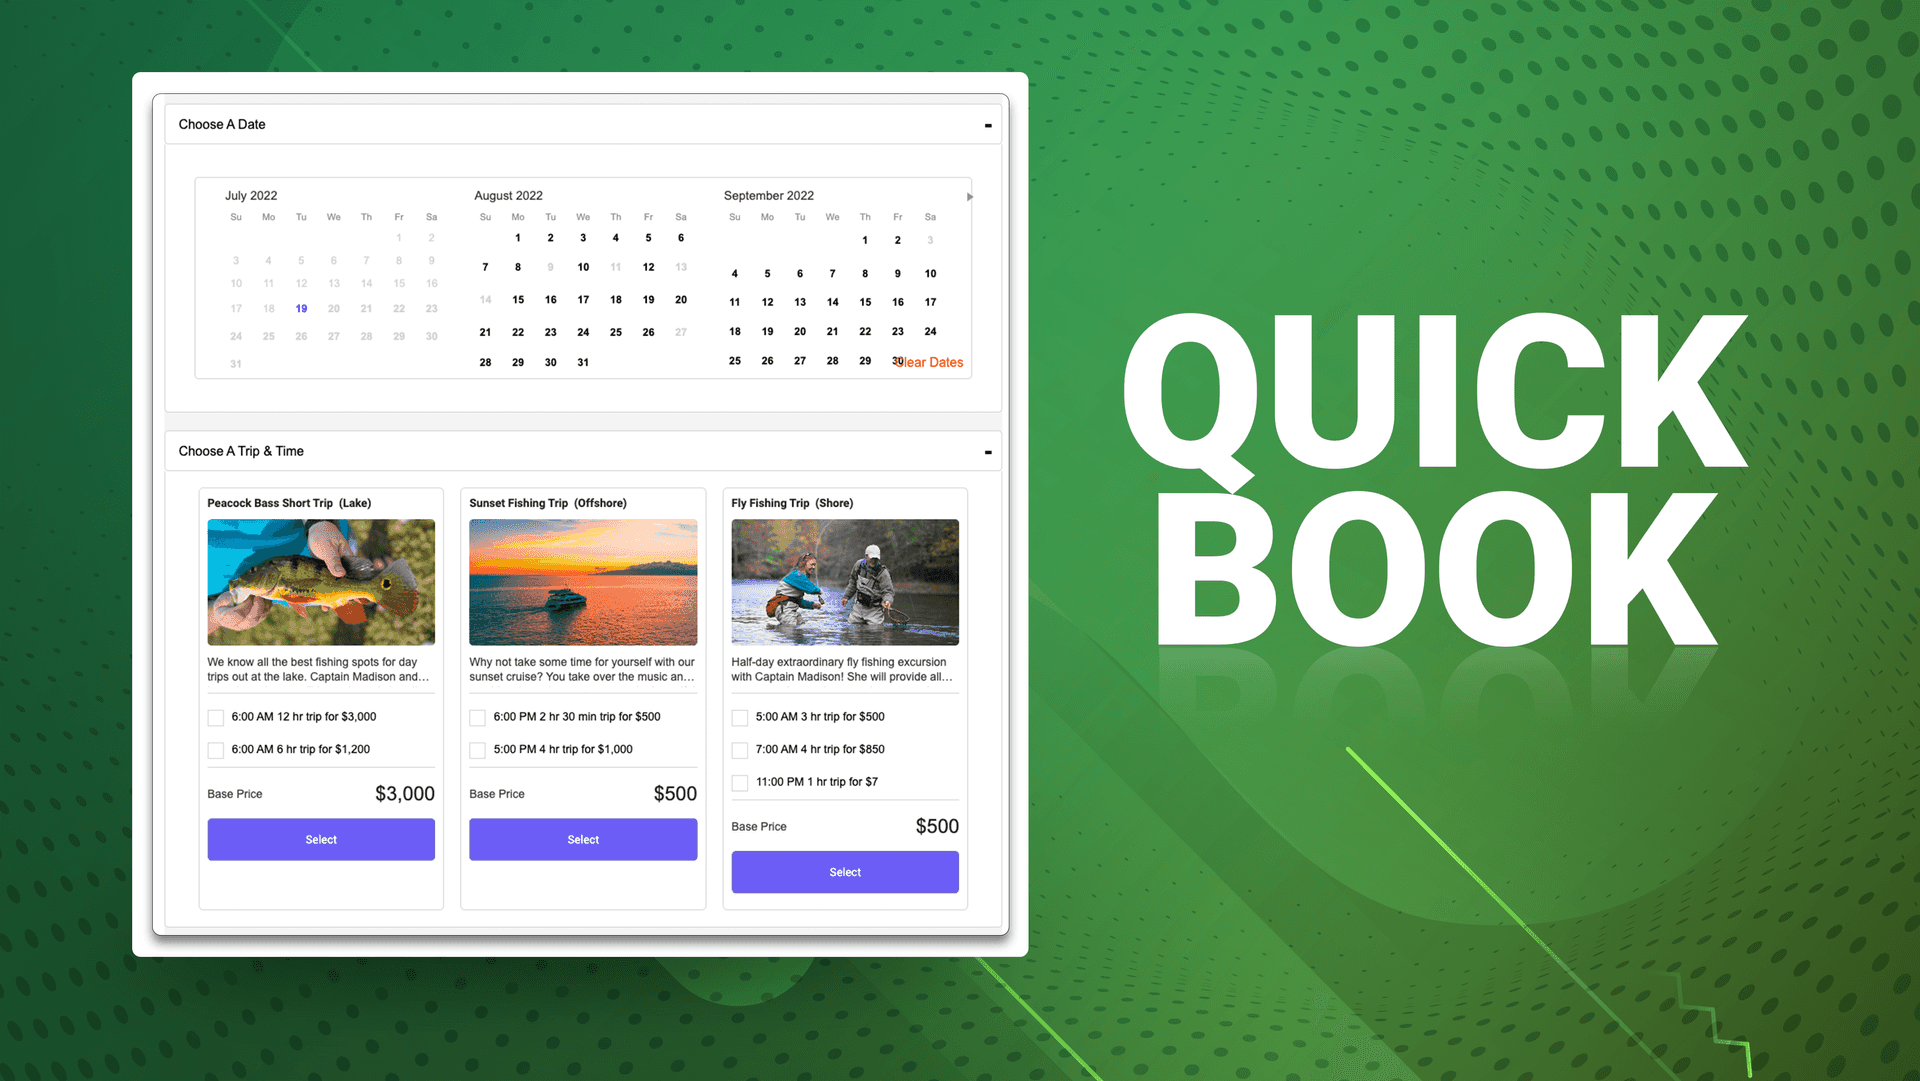
- First, click on the calendar and choose a trip date.
- Next, select which rate card you would like to offer the guest.
- Each detailed rate card shows important details such as the boat, targeted fish, and rate card name. If you have chosen to make certain rate cards unavailable on certain days, this will reflect based on which date you have chosen. To select a card, hit the blue ‘Select’ button.
- Time availabilities- Choose the duration of the trip and what time it begins for your guest- prices for the full trips are visible here.

- Personal details- If you know a guest has booked with you before, there is no need to re enter all their information.
- Search either the returning guest's name or phone number in the top right corner and click your guest. All their information will auto populate, and you can hit the blue ‘Next’ button.
- If this is a new guest, input their full name, phone number, email address, guest amount, and meeting place and hit the blue ‘Next’ button.
- Payment- Input the guest's full credit or debit card information. Add any important fees like mate's or bait's fee, an open item fee, an optional deposit, pre-tips, and gift cards before reviewing the trip total.
- Confirmation- Your trip is confirmed! You will see all booking information on this page and will also get an in-app notification. Your guest will now receive an email detailing all aspects of the trip.
-Quick Book Updates-
July 2022
- Add an open fee for any additional miscellaneous charges to your Quick Book bookings.
- Add gift cards or discount codes to Quick Book bookings.
- Updated design to input bookings faster.

