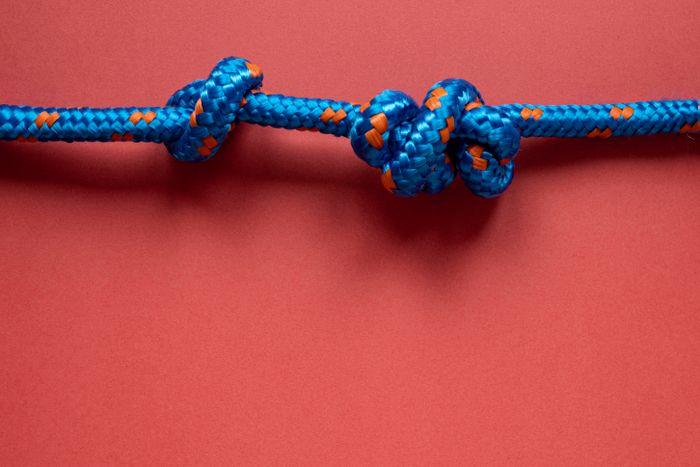
5 Essential Fishing Knots Every Angler Must Master
Learn the five most reliable fishing knots every angler must know. Improve line strength, lure action, and on-water confidence with simple knot techniques.
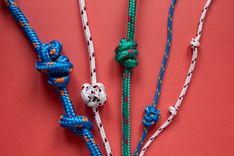
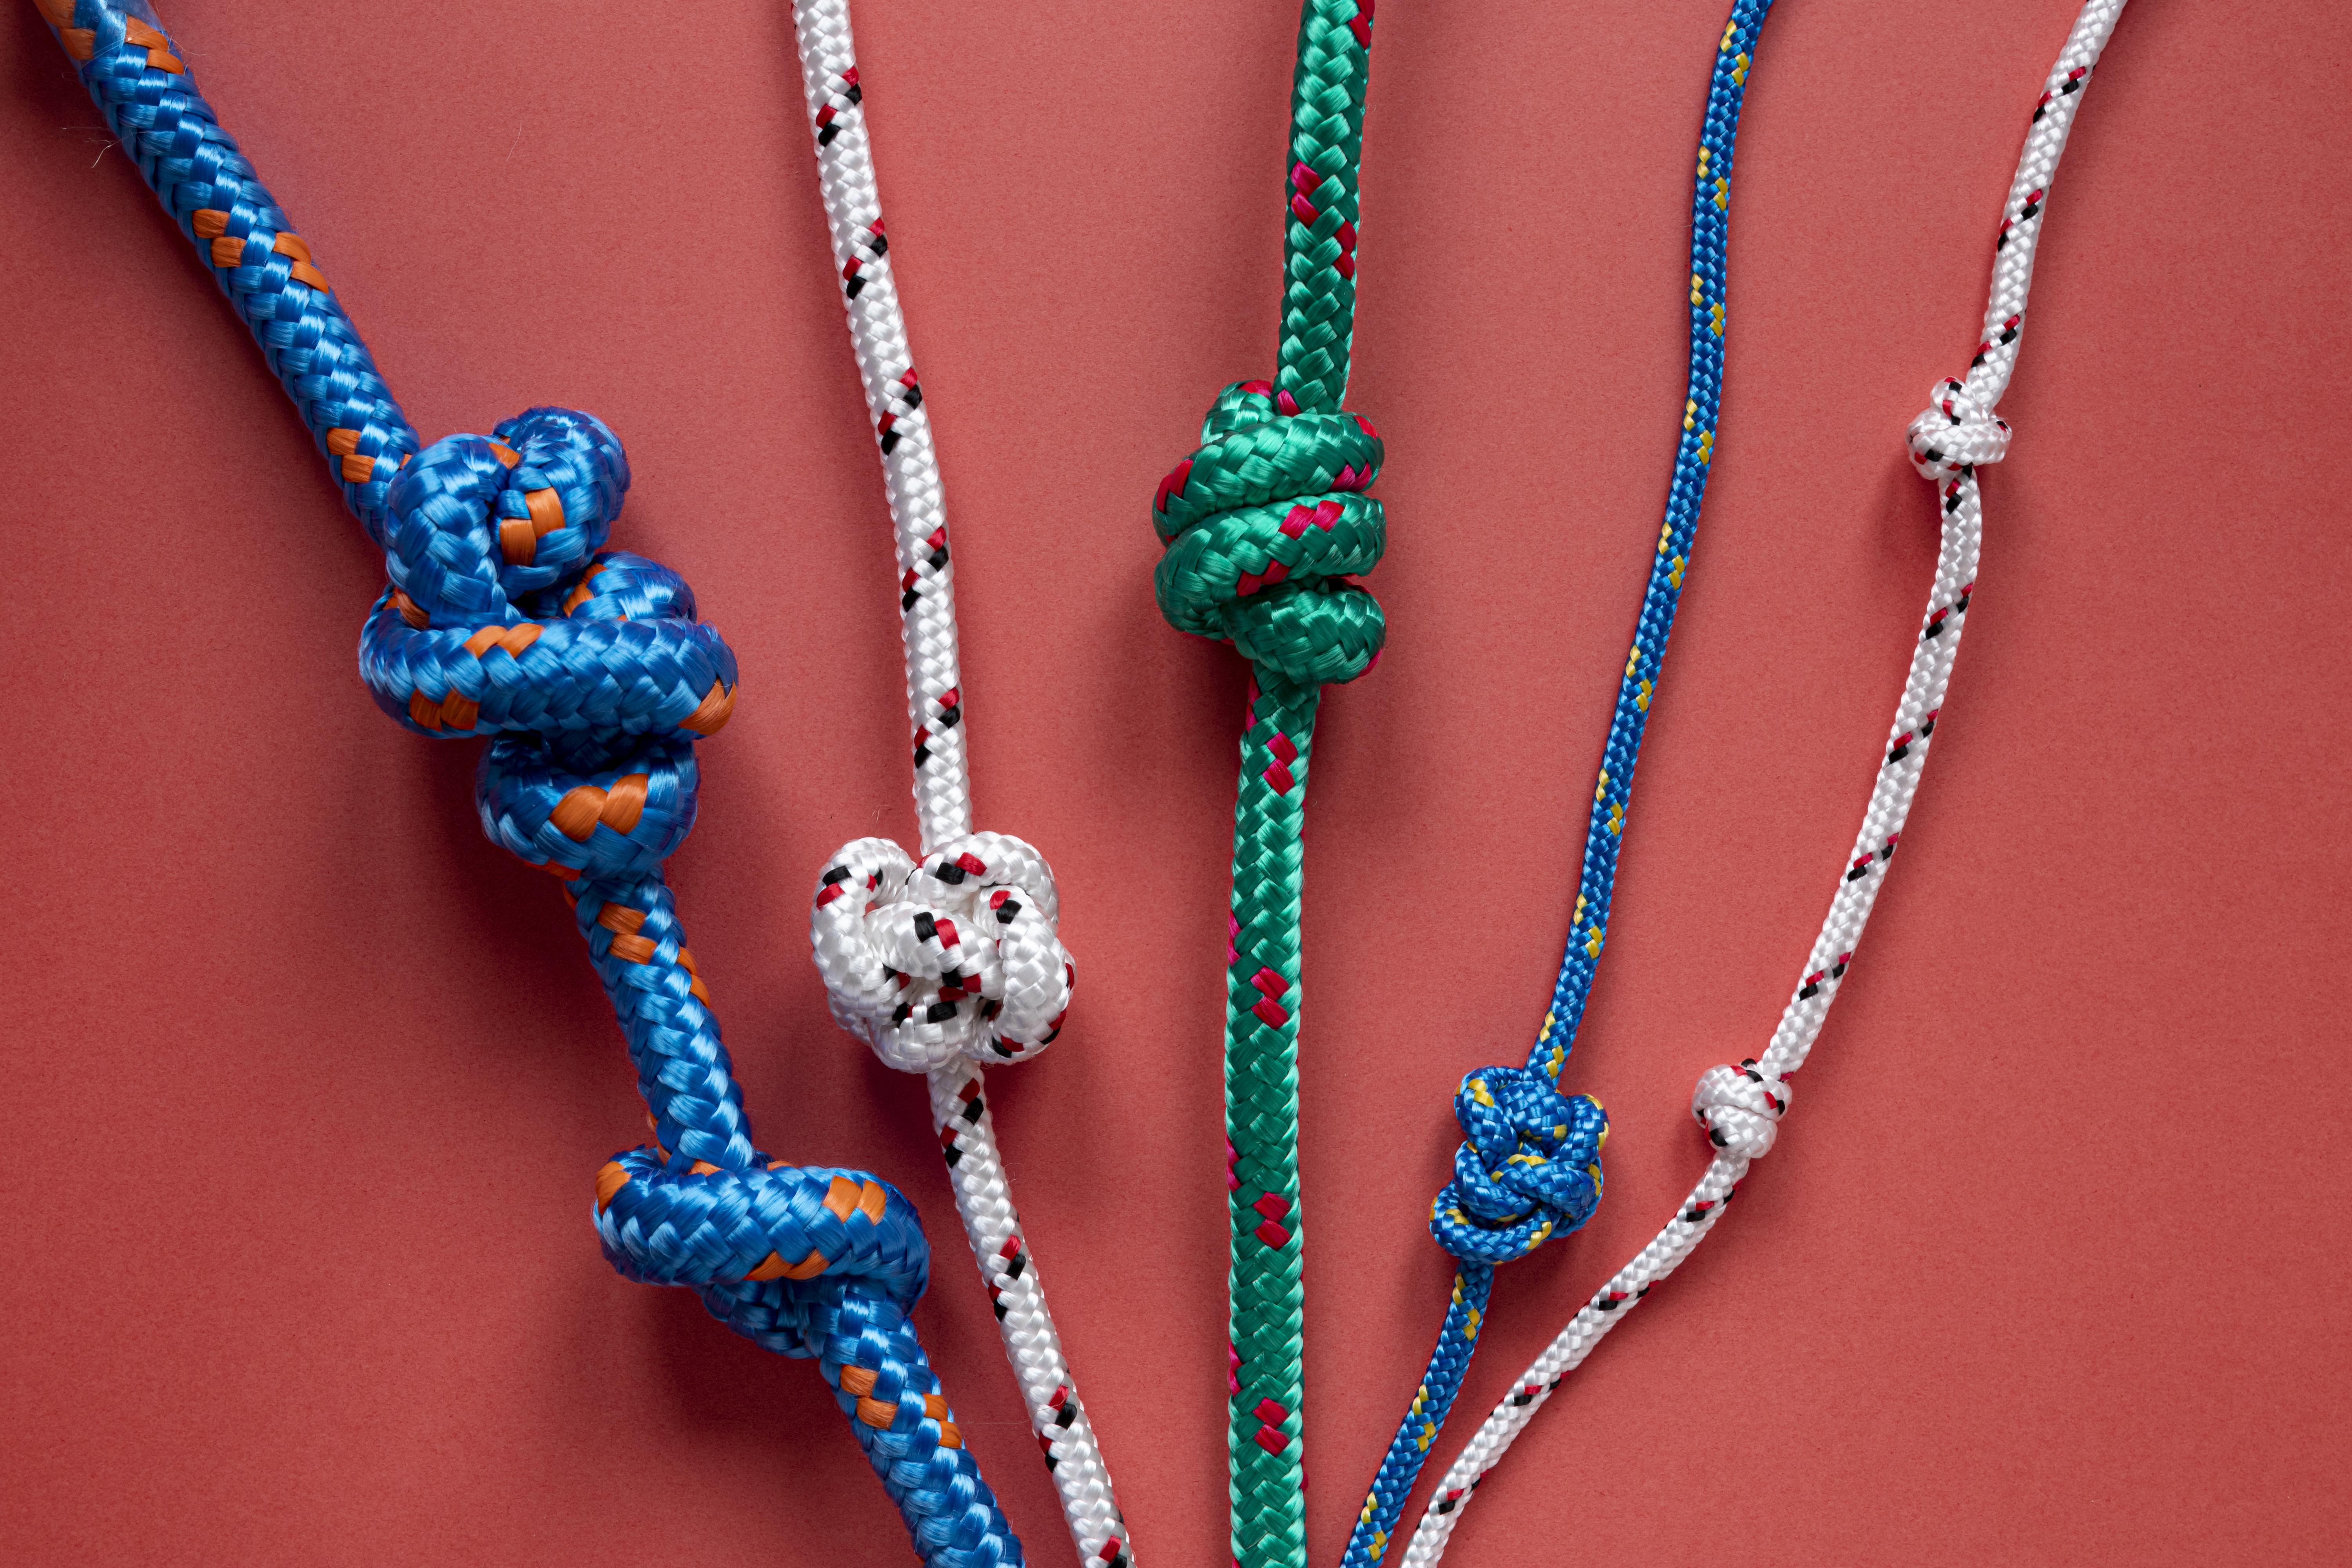
A strong fishing knot decides how well your line performs under tension, sudden strikes, and changing water conditions. Every connection you tie affects how power travels from your rod to the hook, how smoothly your lure moves, and how resistant your setup is to abrasion from rocks, structure, or a fish’s sharp turns. Different knots distribute pressure in different ways, and even a slight variation in how they’re tied can change strength by a large margin. Understanding how lines behave, how friction tightens a knot, and how loops or wraps influence movement helps anglers create dependable connections that hold in freshwater or saltwater. With the right knot techniques, every cast becomes more secure, efficient, and prepared for real fishing challenges.
Why Strong and Simple Knots Matter
Every knot you tie affects how your line performs under tension, how much force it can absorb, and how confidently you can fight a fish in changing conditions. A strong, clean connection prevents slippage during sudden strikes, supports smooth energy transfer, and keeps your lure moving the way your fishing techniques are meant to present it. Simpler knots often outperform complex ones because they tighten evenly and avoid creating sharp bends that weaken the line.
Different materials respond differently to friction and compression, so choosing knots that match the natural behavior of mono, fluoro, or braid helps reduce unnecessary stress. Reliable knots also preserve more of your line’s original strength, preventing breakage caused by uneven tightening or poorly formed wraps. When each knot is tied with intention, your entire setup becomes more efficient, responsive, and dependable on the water.

Understanding the Core Knots Every Angler Should Know
Fishing knots play a key role in how securely your line connects to hooks, lures, and leaders. Here are a few widely trusted knots that help anglers maintain strength, improve lure action, and keep their setup reliable across different fishing conditions.
1. Improved Clinch Knot
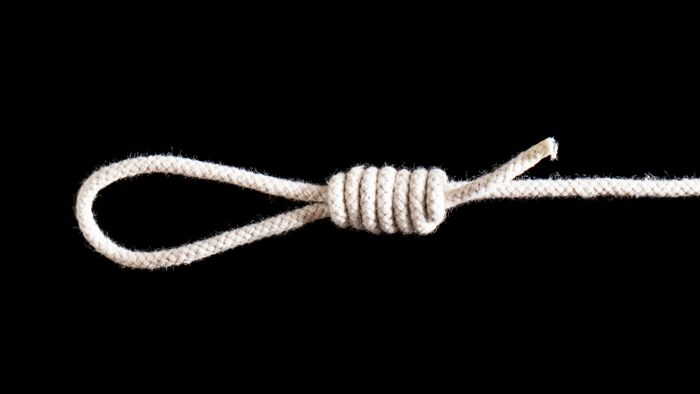
The Improved Clinch Knot is a trusted choice for securing hooks, swivels, and lures, especially when using monofilament or fluorocarbon. Its compact structure tightens evenly under pressure, creating a stable connection that resists slipping and performs reliably during sudden strikes. Anglers value this knot for its consistency in both freshwater and saltwater, making it one of the most widely used knots across multiple species.
Where This Knot Excels
Clear or calm water: Works best with mono or fluoro lines, offering strong holding power for subtle presentations. Ideal for species like Brook Trout and Yellow Perch.
Routine casting setups: Performs consistently with mono or fluoro, making it reliable for everyday fishing. Commonly used when targeting Largemouth Bass and Smallmouth Bass.
Fast, aggressive strikes: Handles sudden pressure well when tied with fluorocarbon, providing high tension resistance. Suitable for hard-hitting species such as Red Drum and Black Drum.
Beginner-friendly use: Easy to learn on a mono line while maintaining dependable strength. A practical choice for anglers fishing general freshwater species.
Step-by-Step Instructions
This knot is built around neat, uniform wraps that tighten smoothly against the hook eye. Taking a moment to align each wrap prevents slippage and helps the knot maintain maximum strength under tension.
Step 1: Start the connection: Pass the tag end through the hook eye and leave enough length to complete multiple clean wraps around the standing line.
Step 2: Create the wraps: Wrap the tag end around the standing line five to seven times, keeping each wrap close and neatly stacked for an even grip.
Step 3: Form the first loop: Guide the tag end back toward the hook and slip it through the small loop that naturally forms just above the hook eye.
Step 4: Form the second loop: After passing through the first loop, bring the tag end through the larger loop created above the wraps to lock the structure.
Step 5: Lubricate the knot: Moisten the wraps to reduce friction and prevent line damage as the knot seats tightly.
Step 6: Tighten gradually: Pull both the standing line and tag end smoothly until the coils slide down and tighten firmly against the hook eye.
Step 7: Finish and trim: Check that the wraps sit evenly, then trim the extra tag end close to the knot without touching the main line.
Common Mistakes to Avoid
Small errors can significantly affect knot strength, especially with lighter lines or fish that strike hard. A quick visual check before tightening helps prevent unnecessary failures.
Too few wraps: Using fewer than five wraps reduces the knot’s gripping surface, making it more likely to slip or loosen under sudden pressure.
Overlapping coils: Coils that cross or bunch up create weak spots and uneven tension, increasing the risk of line breakage during a strong fight.
Tightening without lubrication: Pulling the knot dry creates friction heat that weakens the line fibers long before the knot is even tested by a fish.
Rushing the final set: Snapping the knot tight too quickly can shift the wraps out of place, preventing them from seating smoothly and reducing overall strength.
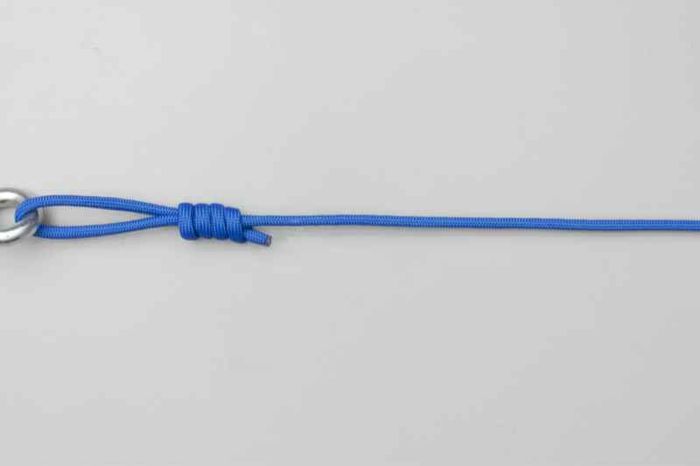
2. Palomar Knot
The Palomar Knot is known for its exceptional strength and simplicity, making it a favorite among anglers who use braid or need a dependable connection in demanding conditions. Its double-line structure distributes pressure evenly, allowing the knot to hold firm during sudden surges while maintaining nearly full line strength. This knot works well for both freshwater and saltwater species, especially when targeting fish known for hard runs and powerful headshakes.
Where This Knot Excels
Heavy strikes or fast runs: Best used with braid, delivering extremely high strength during sudden pressure. Well-suited for powerful species like Striped Bass and Red Drum.
Power fishing setups: Paired with braid, the knot handles shock effectively during aggressive hooksets. Commonly used when targeting Bluefish and Snook.
Low-light or night tying: Easy to tie quickly on any line type, making it practical when visibility is limited. Works well for Largemouth Bass and Channel Catfish.
Big single-hook lures: Provides a strong, stable hold with mono or fluoro, helping maintain hook security on heavier presentations. Ideal for Walleye and Black Drum.
Step-by-Step Instructions
The Palomar Knot relies on creating a doubled line for added security. Keeping the loop organized and ensuring the knot seats cleanly helps maintain its exceptional strength.
Step 1: Form the double line: Fold a short section of line to create a loop, then pass both strands through the hook eye while keeping the loop even.
Step 2: Create an overhand knot: With the folded line, tie a loose overhand knot without tightening it, allowing enough space for the hook to pass through.
Step 3: Pass the hook through the loop: Slip the hook or lure through the large loop created by the folded line, making sure the line stays flat and untwisted.
Step 4: Moisten the knot: Lubricate the line lightly to reduce friction and help the knot tighten smoothly without weakening the fibers.
Step 5: Tighten the knot: Pull both the standing line and tag end together until the knot cinches down firmly against the hook eye.
Step 6: Trim the tag end: After confirming the knot is seated evenly, trim the tag end close to the knot, leaving a small margin for security.
Common Mistakes to Avoid
Because the Palomar Knot uses a doubled line, small handling errors can reduce its overall strength. Paying attention to how the loop forms and tightens helps prevent failures on powerful fish.
Twisted loop before tightening: A twisted loop prevents even pressure distribution, reducing the knot’s natural strength and increasing the chance of breakage during strong pulls.
Not wetting the knot: Failing to lubricate the knot creates excess friction when tightening, which can weaken the line, especially when using braid.
Improperly sized loop: Using a loop that’s too small makes it difficult to pass the lure through cleanly, which can distort the knot and weaken its final structure.
Pulling unevenly during tightening: Applying uneven tension between the standing line and tag end can shift the knot out of alignment, preventing it from seating properly and reducing reliability.
3. Uni Knot
The Uni Knot is one of the most adaptable knots in fishing, known for its strong, smooth grip and ability to work with nearly any line type. Its barrel-shaped wraps tighten evenly under pressure, helping the knot maintain strength whether you’re securing hooks, tying on lures, or creating dependable connections for a variety of freshwater and saltwater species. Anglers value the Uni Knot for its simplicity, reliability, and consistent performance across different fishing environments.
Where This Knot Excels
Everyday casting setups: Works well with mono or fluoro, delivering strong and reliable performance for repeated casts. Commonly used for Largemouth Bass and Smallmouth Bass.
Clear water finesse work: Best suited for fluoro, offering a low profile hold that supports subtle presentations. Effective when targeting Walleye and Brook Trout.
Mixed-structure areas: Performs consistently with mono, providing good abrasion control around cover. Suitable for Yellow Perch and Channel Catfish.
Quick tying on the water: Easy and consistent to tie with any line type, making it practical during active fishing conditions. Ideal for general freshwater species.
Step-by-Step Instructions
Here is a step-by-step way to tie the Uni Knot. Its wraps form a smooth barrel that grips tighter as pressure increases, creating a secure and durable connection for hooks, swivels, and lures.
Step 1: Start the setup: Pass the tag end through the hook eye and lay it parallel to the standing line, forming a small loop beside the hook.
Step 2: Form the loop: Bring the tag end back over both lines to create a circular loop large enough for several clean wraps.
Step 3: Create the wraps:
Wrap the tag end around the loop and standing line five to seven times, making sure each wrap stays even and neatly aligned.Step 4: Prepare the knot: Hold the tag end and gently pull to start drawing the wraps together while keeping the loop intact.
Step 5: Lubricate the knot: Moisten the wraps lightly to reduce friction and allow the knot to tighten smoothly without damaging the line.
Step 6: Tighten the knot: Pull slowly on the standing line until the wraps slide down toward the hook eye and seat firmly.
Step 7: Trim the tag end: Once the knot is tight and symmetrical, trim the excess tag end close to the knot without cutting into the main line.
Common Mistakes to Avoid
Small mistakes can affect how the Uni Knot grips the line, reducing its ability to hold steady during sudden pressure or fast runs. Checking each wrap helps keep the knot strong and dependable.
Uneven wraps: Misaligned or widely spaced wraps reduce friction and make the knot more likely to slip when a fish applies sudden force.
Skipping lubrication: Tightening a dry knot creates friction heat, weakening the line’s fibers and reducing long-term knot performance.
Rushing the tightening: Quick, uneven pressure can distort the barrel shape, preventing the knot from seating cleanly against the hook eye.
Leaving an improper tag length: A tag end cut too short can slip under tension, while one that is too long may catch on guides or vegetation during casting.
4. Loop Knot (Non-Slip Loop Knot)
The Non-Slip Loop Knot is used when anglers want their lure or bait to move freely in the water. By creating an open loop instead of a fixed connection, this knot allows natural side-to-side action, making it especially effective with swimming lures, jigs, and live-bait presentations. Its strong, stable design holds firm under tension while maintaining enough flexibility to enhance lure movement across a wide range of fishing conditions.
Where This Knot Excels
Lure presentations requiring action: Works well with mono or fluoro, allowing great freedom of movement so lures swim naturally. Effective for Red Drum and Snook.
Clear water finesse retrieves: Best paired with fluoro, providing smooth, natural action for subtle presentations. Commonly used for Walleye and Brook Trout.
Slow-rolling or twitching lures: Performs reliably with mono, offering excellent lure control during steady or stop-and-go retrieves. Suitable for Smallmouth Bass and Yellow Perch.
Light to moderate structure: Easy to use with any line type, delivering a secure yet flexible connection around cover. Ideal for Largemouth Bass and Channel Catfish.
Step-by-Step Instructions
This knot creates an open loop that preserves lure action while keeping the connection strong and dependable under pressure. Here is a step-by-step way to tie the Non-Slip Loop Knot.
Step 1: Make the starting overhand knot: Tie a simple overhand knot in the line about six inches above the tag end, leaving enough space to form a clean loop.
Step 2: Pass the tag end through the hook eye: Insert the tag end through the hook or lure eye, then bring it back toward the overhand knot you created.
Step 3: Thread through the overhand knot: Feed the tag end through the loop of the overhand knot, keeping the structure open and easy to work with.
Step 4: Wrap the tag end: Make four to six wraps around the standing line, ensuring each wrap sits neatly and evenly for consistent strength.
Step 5: Return to the overhand loop: Pass the tag end back through the overhand loop a second time, preparing the knot to tighten into its final shape.
Step 6: Lubricate before tightening: Moisten the entire knot to prevent friction damage and help the loop form smoothly.
Step 7: Tighten the knot: Pull the standing line while controlling the tag end to cinch the wraps and form a clean, stable loop above the lure.
Step 8: Trim the tag end: Cut the extra tag end close to the knot, leaving just enough length for added security.
Common Mistakes to Avoid
Improper handling during wrapping and tightening can alter the size or stability of the loop, reducing lure performance or knot strength.
Overtightening the loop: Pulling too hard too early closes the loop entirely, eliminating the free action that makes this knot effective for lifelike lure movement.
Uneven or loose wraps: Wraps that overlap or sit unevenly weaken the barrel structure and can cause the knot to slip when pressure increases.
Skipping the second pass: Failing to run the tag end through the overhand knot a second time reduces overall grip and makes the loop less reliable under tension.
Wrong loop size: A loop that’s too large or too small affects lure movement. Aim for a controlled loop that matches lure weight and presentation style.
5. FG Knot
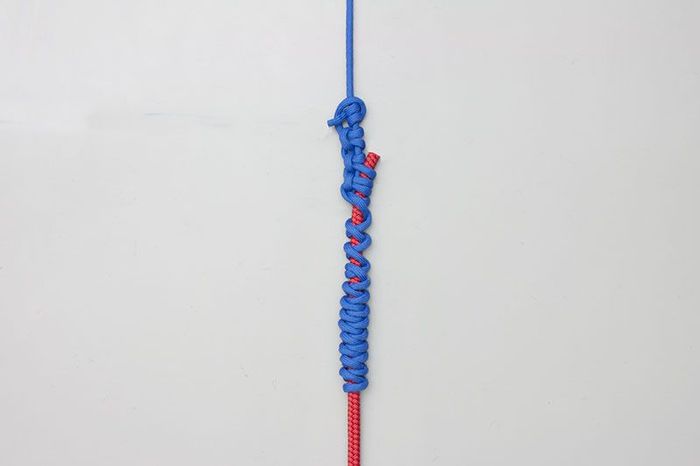
The FG Knot is one of the strongest and slimmest line-to-leader connections used in fishing. Its tightly woven structure grips the leader without creating bulky coils, allowing it to pass smoothly through rod guides and maintain exceptional strength under heavy pressure. This knot is especially valuable when joining braid to fluorocarbon or monofilament, giving anglers a reliable connection for powerful species, long casts, and situations where abrasion resistance and strength both matter.
Where This Knot Excels
Heavy fighting species: Uses braid to fluoro or mono, delivering extremely high strength during hard runs and prolonged fights. Effective for Red Drum and Striped Bass.
Clear water leader setups: Combines braid with fluorocarbon to create a slim, stealthy connection that holds up under pressure. Commonly used for Snook and Walleye.
Abrasion-heavy environments: Pairs braid with thick mono to provide excellent durability around rocks, docks, and structure. Suitable for Bluefish and Black Drum.
Long casting or finesse fishing: Works with any braid-to-leader combination, allowing smooth guide passage for longer casts and controlled presentations. Ideal for Largemouth Bass and Smallmouth Bass.
Step-by-Step Instructions
Here is a step-by-step way to tie the FG Knot. This knot creates a series of tight, alternating wraps that lock the braid around the leader, forming a secure, low-profile connection that excels in demanding conditions.
Step 1: Position the lines: Hold the leader line tight and lay the braid across it, making sure both lines stay aligned and easy to control.
Step 2: Begin the wraps: Wrap the braid over and under the leader in alternating directions ten to twelve times, keeping each wrap tight and even.
Step 3: Apply tension: Pull both ends of the braid gently to seat the wraps and ensure they grip the leader firmly without gaps.
Step 4: Secure the base wraps: Tie a half hitch with the braid around both lines to lock the initial wraps in place before tightening further.
Step 5: Tighten the knot: Apply steady pressure to the leader and braid so the wraps compress cleanly and the braid digs smoothly into the leader surface.
Step 6: Finish with extra hitches: Add three to five half hitches with the braid around the standing line to reinforce the knot and prevent slippage.
Step 7: Trim the leader tag: Cut the leader tag end very close to the wraps so the knot remains slim and guide-friendly.
Step 8: Final locking hitch: Tie one last half hitch with the braid to secure the trimmed leader end and stabilize the entire knot.
Common Mistakes to Avoid
The FG Knot depends on consistent wraps and proper tension. Small errors during the wrapping process can lead to slipping, weak spots, or bulkiness that interrupts casting or weakens the connection.
Loose initial wraps: Slack wraps prevent the braid from gripping the leader correctly, causing the knot to slip when pressure increases or during long fights.
Uneven tension while tightening: Unequal pressure while seating the wraps can distort the knot, reducing its strength and creating weak contact points.
Incorrect wrap count: Using too few wraps fails to create proper friction, while too many wraps make the knot bulky and harder to manage through guides.
Not trimming the leader closely: Leaving a long leader tag creates drag through guides; trimming too aggressively without a final hitch can make the end pull free.
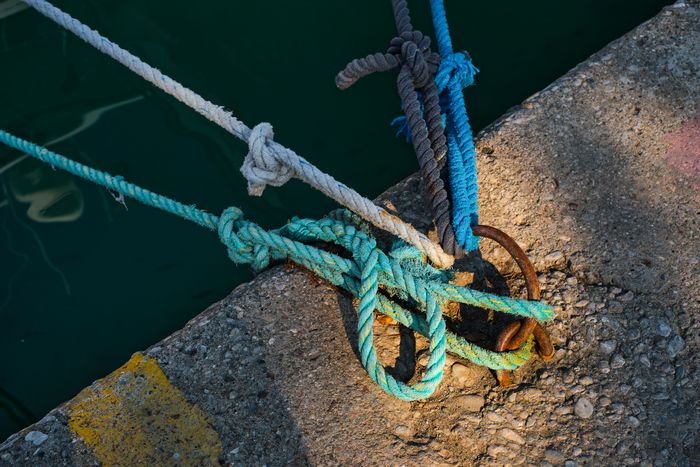
How Knots Fail Under Pressure, Friction and Line Behavior
Knots often fail when uneven wraps, crossed coils, or poorly seated loops create weak points that concentrate pressure during a strong pull. Sudden strikes amplify these stress points, causing the line to break where tension gathers instead of spreading evenly. Friction also plays a major role. Tightening a knot too quickly or without lubrication generates heat that weakens line fibers, especially in fluorocarbon and monofilament. Braid behaves differently, slipping when wraps aren’t tight or balanced. Understanding how pressure, friction, and material memory interact helps prevent failures and improve overall knot reliability.
Conclusion
Strong knots make every cast more reliable by protecting line strength, improving lure action, and staying secure through sudden strikes or long runs. When anglers tie clean wraps, use proper lubrication, and choose the right knot for the situation, their entire setup performs with greater consistency and control. For anyone wanting to refine their skills even further, Guidesly connects anglers with experienced local guides who can demonstrate these knots on the water and help you fish with confidence.
FAQs
1. What is the easiest fishing knot for beginners to learn?
The simplest knot for beginners is the Overhand Knot because it builds basic hand coordination and helps new anglers understand how line tension shapes a connection.
2. Which knot holds best when tying very light fishing lines?
Light lines perform well with knots using minimal friction points, such as the Pitzen Knot, which tightens smoothly and maintains strength without stressing thin mono or fluorocarbon.
3. Do different hook eye shapes require different fishing knots?
Yes, straight-eye, up-eye, and down-eye hooks change how a knot sits, so choosing one that aligns naturally with the hook angle improves pulling efficiency and stability.
4. What knot works well for tying flies or small artificial insects?
Fly anglers often use the Turle Knot because it positions the fly correctly, keeps the connection streamlined, and supports delicate presentations requiring precise orientation in the water.
5. How often should anglers re-tie their knots during a trip?
Re-tie knots after catching several fish, dragging through rough structure, or noticing frayed sections, since small abrasions can weaken even well-tied knots over time.
6. Are some knots better suited for cold-weather fishing?
Yes, knots with fewer intricate movements work better in cold conditions because stiff hands and frozen lines make complex wraps harder to manage accurately and securely.
7. Why do some anglers prefer loop knots for live bait?
Loop knots allow live bait to move naturally without being restricted by fixed tension, helping it swim freely and draw more strikes from hesitant or pressured fish.
8. What knot is recommended for tying leaders to wire or metal traces?
For wire leaders, anglers rely on the Haywire Twist because its rigid locking turns prevent slippage and maintain consistent durability when targeting sharp-toothed species.
9. Can a knot’s strength change depending on the brand of fishing line?
Yes, different line coatings, flexibility levels, and memory characteristics affect how a knot cinches, so some knots perform better with certain line brands or materials.
10. Should anglers test their knots before casting?
Absolutely. A gentle pull test verifies proper seating, ensures wraps haven’t overlapped, and prevents losing fish due to unnoticed slippage or incomplete tightening.